24. June 2023 - Anika Semmer
Camper Craft - How to Build It as a Toy or Amazing Packaging | Tutorial
in
Crafting
Share
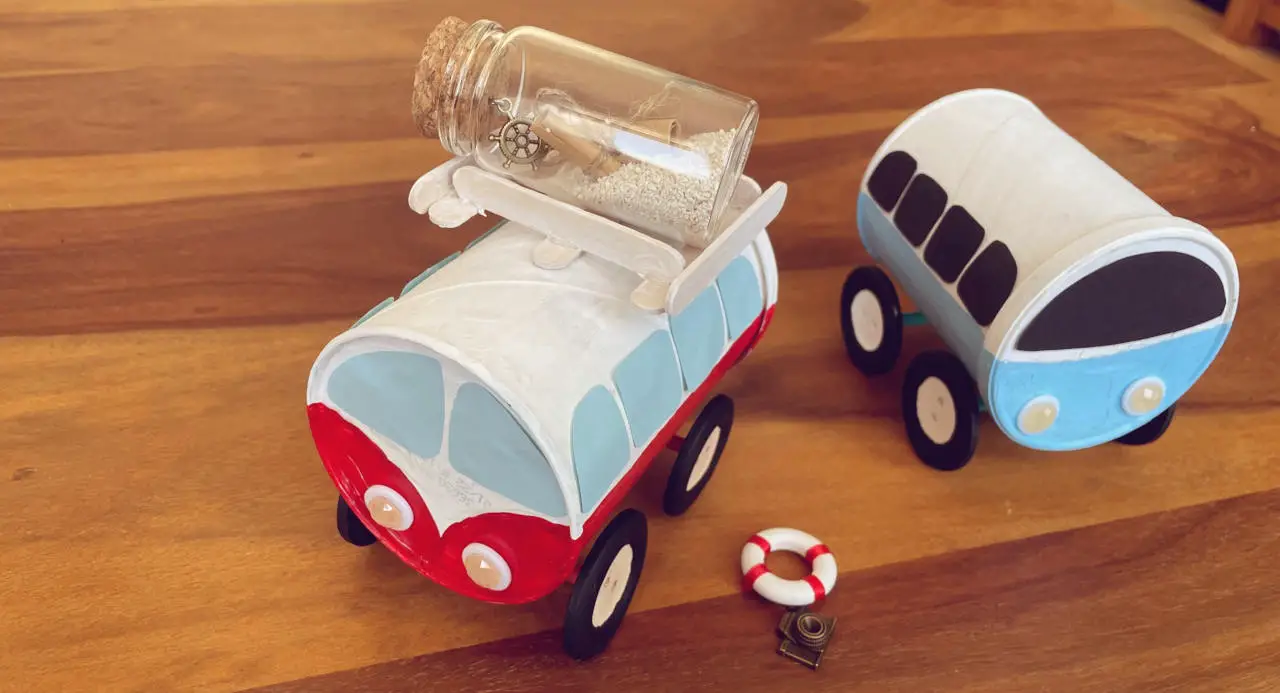
Upcycling toy or creative packaging for a voucher, a gift of money or a surprise. You can easily make a camper out of an empty Pringels tin that looks super cute and drives. Find out how to build this camper craft and what you need here.
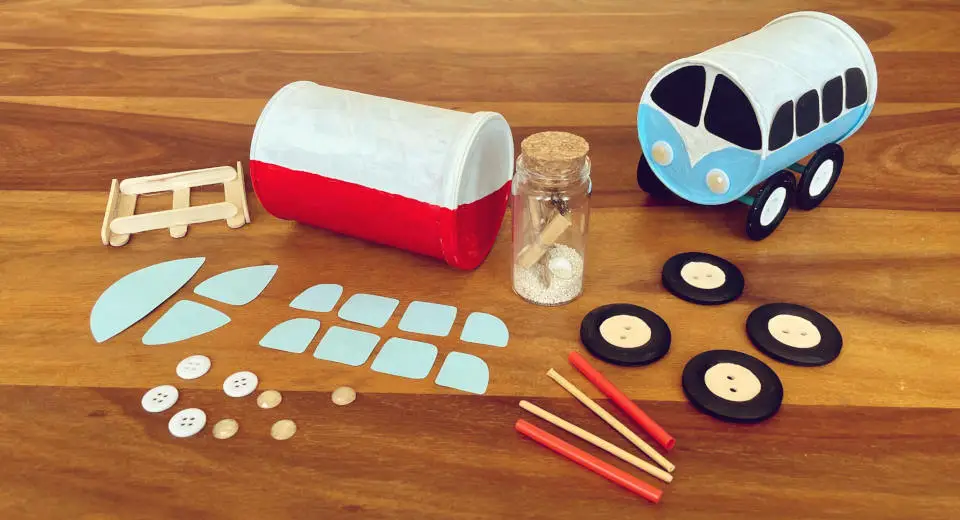
You can make a super cute camper craft out of a crisps tin or a tin can with buttons, paint and a few utensils that everyone actually has in the house. Whether as a toy for a toddler, original gift packaging for money, as decoration or to pimp a travel voucher – if you use an empty crisps tin with a plastic lid like I did, you can fill the camper with anything and it has many uses! You can find everything you need for crafting on the material list.
Who else but me immediately thinks of a camper with suitcases and a surfboard on the roof rack when they think of a road trip? Another important birthday is coming up and the gift has already been decided – it will be a travel voucher. In order to present the small, inconspicuous gift in a nice way, I finally decided to implement a DIY project I had been planning for a long time: a camper craft that can be used as a toy, that drives and that won’t be destroyed by a toddler the first time he plays with it. While googling, I found lots of suggestions made of paper and decorative DIY kits made of wood – but nothing sturdy that drives and somehow nothing that really excited me. And then my eyes fell on the empty crisps tin from the evening and I had the brilliant idea. I am very happy with the result – I made a roof rack for the roof on which I put the actual gift – the travel voucher in a glass bottle as a message in a bottle. The printout with the details of the booked trip is then placed in the belly of the camper, which visually looks about as good as a till receipt.
Looking for more creative ideas? On Abenteuer Freundschaft I have already written many tutorials for my crafting ideas for different occasions. From creative branded travel voucher, lots of crafty gifts and even more craft ideas for and with kids.
Material List for the Camper Craft*
- Empty chrisp tin
- 4 wooden buttons with approx. 4 cm diameter
- 4 white buttons with 1.5 cm diameter
- 2 drinking straws
- 2 Sashlik skewers made of wood
- 4 round gemstones, 1 cm diameter
- Hot glue gun
- red or light blue, black and white acrylic paint
- Brush
- light blue or black clay paper
- Pencil
- Triangle
- Scissors
- Craft mat
- if necessary, 7 small wooden sticks (6.5 cm long)
Material List for the Travel Voucher
- glass vial (about 7-8 cm long)
- White decorative sand
- Strength paper
- Jute ribbon
- Jewellery pendant matching the travel theme
- round hook
How to Make a Camper Craft Out of a Can
Also looks super nice as a decoration and is a beautiful toy
Upcycling – giving a new life to disposable objects like the crisps tin – is just great. On our blog you can find many upcycling projects of mine – some of them also with empty chip tins, for example as a pretty round gift box, DIY cotton pad dispenser.
1. Cut a Chrisp Tin Into Shape as a Car Body and Paint

Use paint, clay paper, buttons and rhinestones to make a camper body out of the can
Now draw a curved V with a pencil on the bottom of the tin at a height of 3 cm on the right and left and draw it on the front up to the mark. Use the triangle to draw a straight line on the sides of the can and on the lid at a height of 3 cm. Now paint the lower part of the camper body and the upper part in white twice with red or light blue acrylic paint so that the paint covers nicely and wait until the paint has dried.
You can buy small Pringels tins in some large supermarkets or online. However, these are a bit too short for the camper and I advise you to rather use a large crisps tin and cut it to size.
2. Tinkering the Tyres and Chassis of the Camper Craft
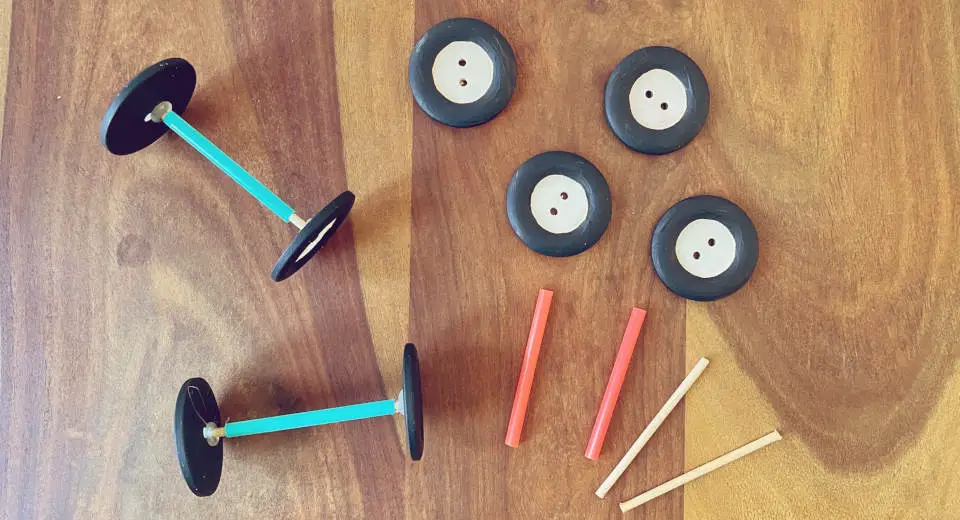
For the camper to drive, the wooden wheel suspension must not stick to the straw
Now cut 6.5 cm long pieces from the blunt end of two wooden shish kebabs and two 5.5 cm long straight pieces from two drinking straws.
Place the 4cm buttons face down on a flat surface and glue the cut shish kebab vertically in the middle. Lean the hoop against the camper, put the drinking straw over the shish kebab and stick the last two hoops horizontally onto the shish kebab and let the second hoop also touch the camper (this makes it easier to align the hoops as straight and horizontal as possible). Make sure that the drinking straw does not get stuck and has free play!
Now glue the undercarriage to the drinking straw at the bottom of the body about 2.5-3cm from the rear and in the middle at the front.
3. Finish the Camper Craft and Fit Windows, Lights and Luggage Racks
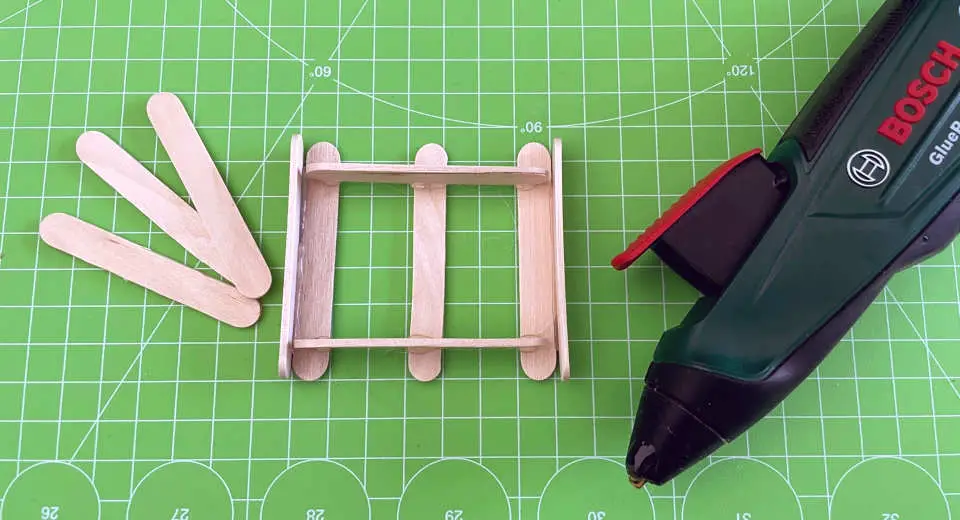
The roof rack consists of 7 wooden bars
Now glue the jewellery stones in the middle of the small buttons and mount them with the hot glue gun as front and rear lights on the camper.
If you want to make a luggage rack for transporting Playmobil figures, suitcases, dolls or a voucher like I did, you will need 6 small wooden sticks. Lay out three of them vertically on a craft mat, e.g. with the help of the lines, and glue 4 more wooden sticks vertically on the narrow edge all around to prevent them from falling off. I also painted the luggage rack with white acrylic paint.
4. How to Make a Message in a Bottle With a Travel Voucher
For the travel voucher, I filled a glass bottle with white sand and twisted a tag (in my case a steering wheel) into the top of the cork on a round screw hook.
I wrote my voucher text on two small pieces of kraft paper, rolled them up, tied them with a piece of jute string and filled them into the bottle. The result is a super decorative message in a bottle that the birthday boy or girl can use as a decoration afterwards :-).
Have fun with the campercraft – with or without a travel voucher! 🙂

![L & P Car Design L&P B546 [ 2 Stück ] H8 H11 CanBus Plug&Play Lastwiderstand Widerstand für LED SMD Lampen ohne Fehlermeldung](https://www.abenteuerfreundschaft.de/relaunch/wp-content/plugins/aawp/public/image.php?url=YUhSMGNITTZMeTl0TG0xbFpHbGhMV0Z0WVhwdmJpNWpiMjB2YVcxaFoyVnpMMGt2TkRGSWJUbHFTa2gxV2t3dVgxTk1NVFl3WHk1cWNHYz18MTcxNDQ2Mzc0Ng=)


Are you creative and have lots of crafting ideas or ideas for leisure activities for two, with friends and family? Become a guest author at Abenteuer Freundschaft! We look forward to receiving your email!
Never miss a good idea again and follow Abenteuer Freundschaft on Facebook and Instagram!
*This article contains so-called affiliate links. This means that if you buy a product via such a link, Abenteuer Freundschaft may receive a small commission without the product becoming more expensive.
Similar Posts
Advertisement
Similar Posts
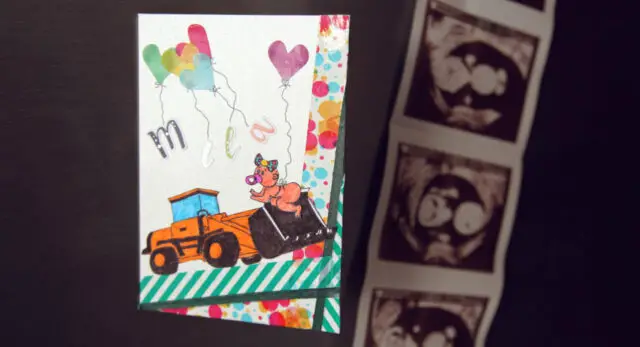
Homemade Baby Card Idea With a Excavator | Tutorial
Stickers, tape, baby and digger, that's all you need to make this fun baby card. You can print out the template for the excavator and baby here for free!
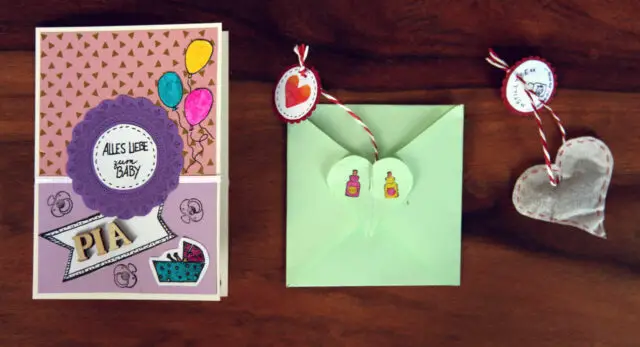
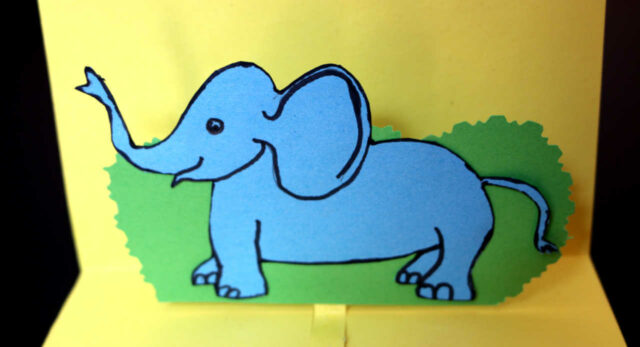
DIY Welcome Baby Girl Card With Cute Surprise for Mom | Tutorial
There is a lot of love in this card! When you open it, a sweet homemade surprise for breastfeeding awaits the new mum.
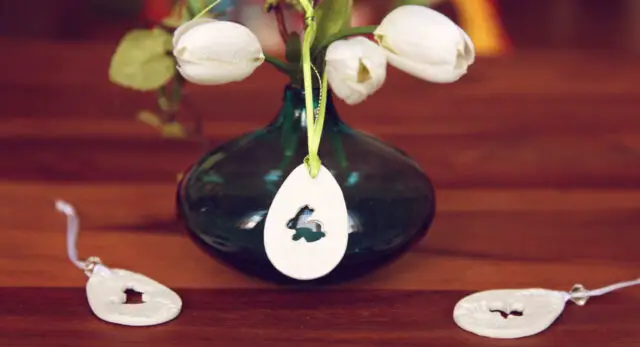
How to Make Elegant Clay Easter Eggs | Tutorial
Elegant, flat Easter pendants for the Easter bush are easy to make yourself. It's child's play to create beautiful Easter decorations from air-drying clay!

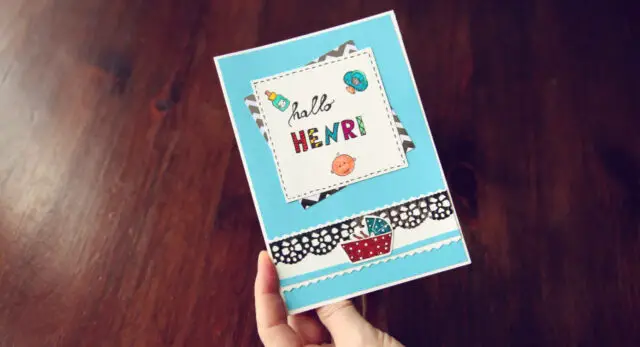
Congrats Baby Boy Card – Cute DIY With Stamps | Tutorial
Stamp, punch, colour. Create a super cute welcome with baby motifs. Design the front and the inside of the card and get creative!
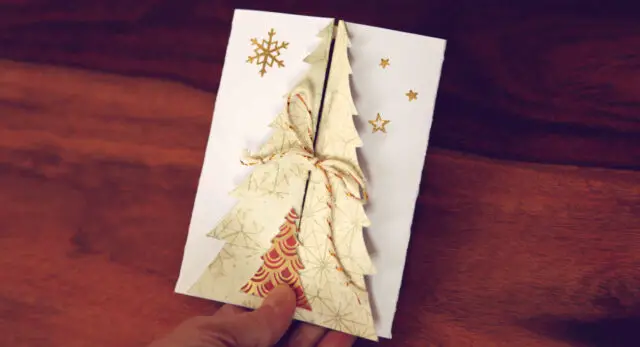
How to Make a Christmas Tree Card | Tutorial
Simple DIY idea for a Christmas card with a fir tree to open. There's a surprise hidden inside!
New Baby Girl Card - Easy and Cute DIY Idea ?| Tutorial
This welcome greeting for a girl is copied in a short time and is guaranteed to bring great joy. This is how to do it yourself.
