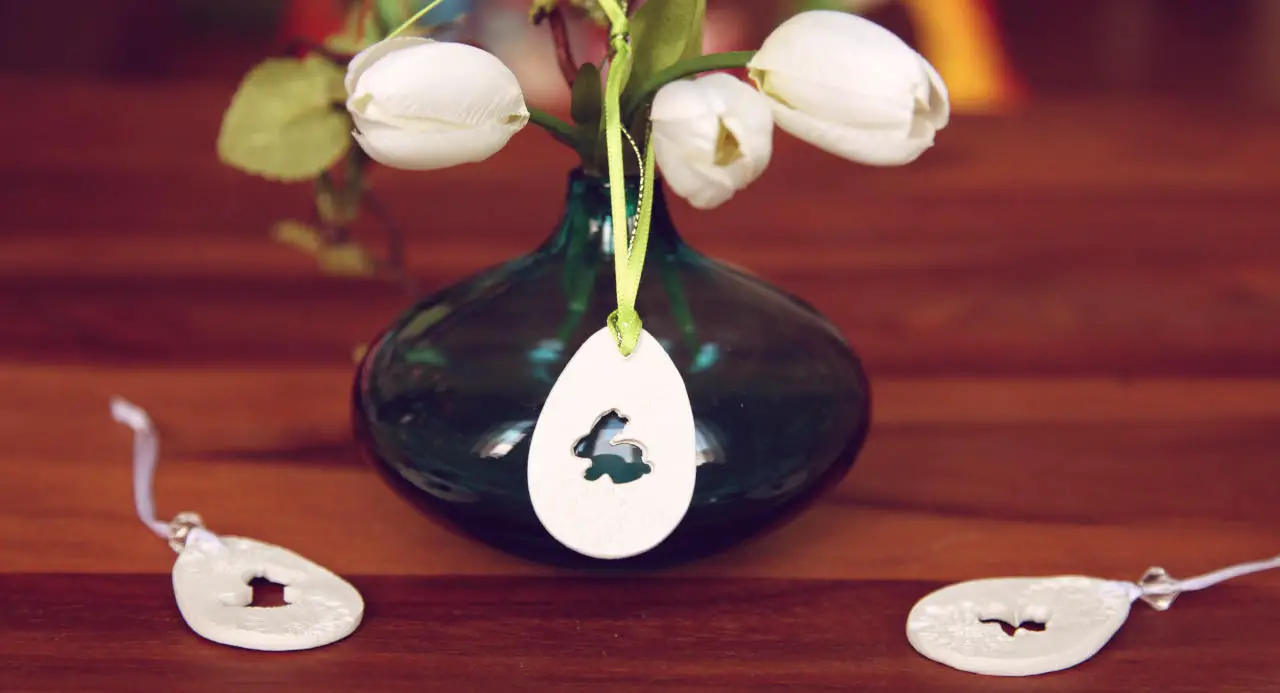
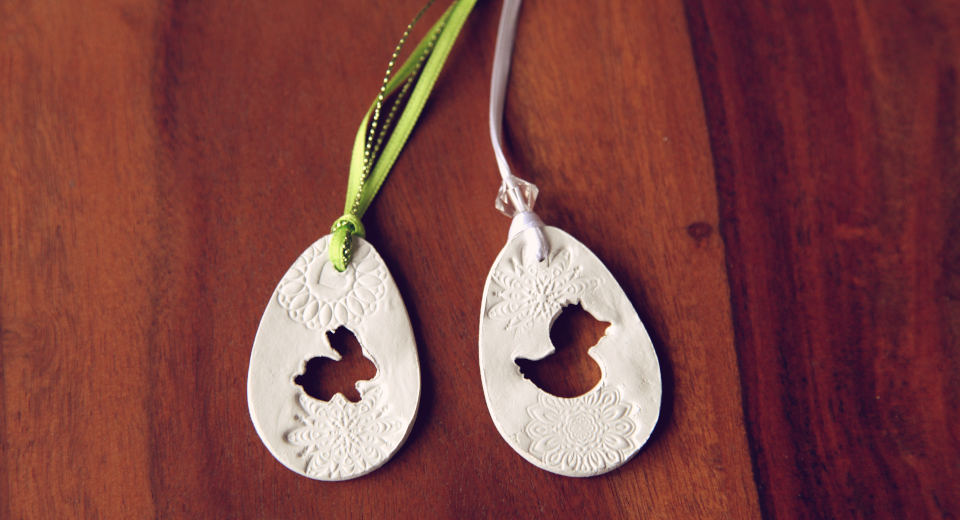
Hanging Easter eggs belong to Easter like a hen to an egg. With the right accessories, you can easily make simple, flat, openwork clay Easter eggs for the Easter bush.
Sometimes you get the brilliant idea while baking. My new Easter cookie cutters are much too good to be used only for pastries, but they are also perfect for handicrafts. So instead of dough, today I’m using air-drying clay to make flat Easter eggs to hang on the Easter bush.
The great thing is that you can paint, glue or apply reliefs to clay Easter eggs, as I did. It looks very classy and is really easy to make. With modeling clay from Fimo you can also tinker with the little ones – with fingerprints can create beautiful reliefs and stamping the tots can also already super.
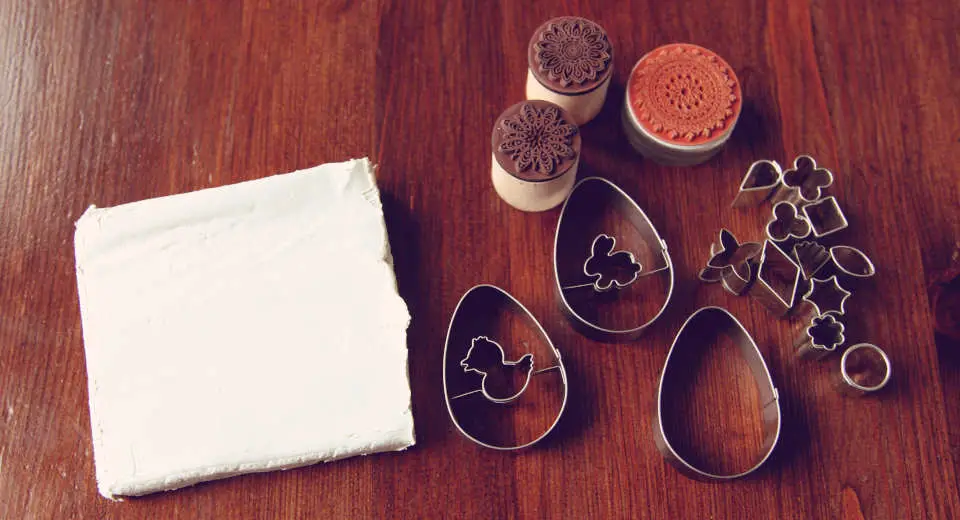
You will definitely need Linzer Easter molds with the little bunny and chick included to recreate this. As always, you can find everything else I used on the material list*.
Have you already browsed through our colourful Easter ideas? There you will find many beautiful craft tutorials for Easter egg chicks or Easter egg bunny as well as many more crafting ideas!
Material List
- Air dying clay
- Relief stamps as large ornaments and small ornaments
- Easter cookie cutter
- Toothpicks
- Crystal beads
- White satin ribbon
- Green satin ribbon and glitter thread
- Scissors
- Baking paper
- Fine sandpaper
- Modelling tool and roller
How to Make Clay Easter Eggs
You can also cut out patterns with fondant shapes
Drying time: about 24 hours
From 250g air-drying clay you get 23 Easter eggs with chicks or bunnies. This is about half a package. You should store leftover clay in an airtight container in a cool place so that you can still use it days later. For example, a simple screw-top jar stored in the refrigerator is suitable for this purpose.
Fimo clay is also available in colour! And apart from stamps, you can just as well press in a relief with an old crocheted doily.
Cut Out and Emboss Osteier Eggs From Clay
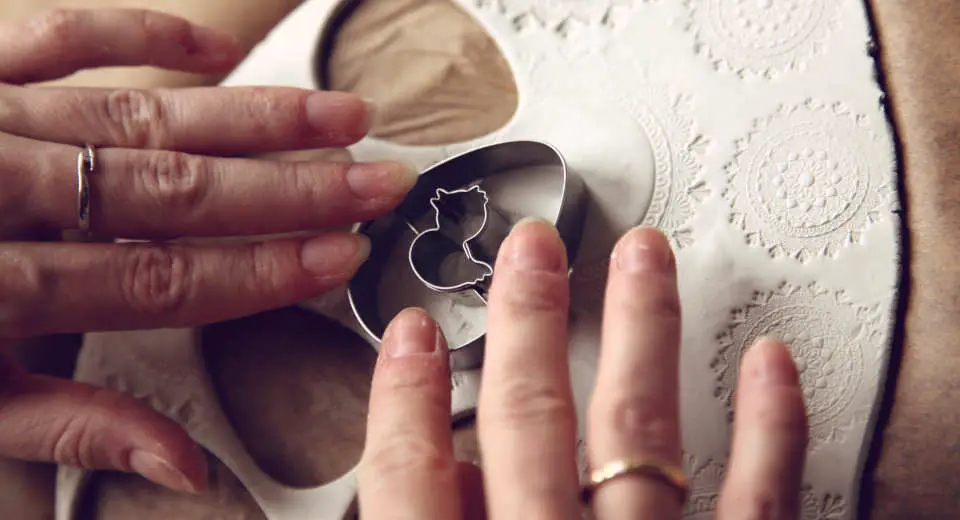
First emboss, then cut out the Easter eggs
Roll out the clay to a thickness of about 5 mm on baking paper. This way you avoid the clay sticking to the table and you can easily remove it. The best way to do this is with a fondant rolling pin, but you can also use a rolling pin or an empty bottle.
Now use the large stamps, old crocheted doilies etc. to emboss a relief into the mass. Make sure that you leave small areas free so that the patterns can work. Then cut out the Easter eggs with chicks and bunnies. Place two of the small ornament stamps close together, place the cut-out Easter egg with the smooth side on top and carefully press it onto the stamps. This way you will also get a nice relief on the back.
Now poke a hole in the top centre with a toothpick or shish kebab for hanging. Place the clay Easter eggs on a flat surface to dry and leave them to dry for about a day.
Sand the edges with fine-grit sandpaper until all imperfections are removed.
Attach the Suspension
6mm thick satin ribbon works well for the hanging
Lay the satin ribbon on top of each other and push the loop through the hole. Thread the two ribbons through the loop and pull the ribbon tight. For the green hangings I added a metal thread. I threaded a transparent crystal bead onto the white satin ribbons. Finally, knot the ribbons in the desired length. The Easter eggs made of clay are ready :-).
Have fun making them and happy Easter!
Boredom was yesterday! On Abenteuer Freundschaft you will find new ideas for crafting, playing and experiencing every week. Browse through our tips for activities with children, your partner or friends.
Do you like Abenteuer Freundschaft? Visit us on Facebook and Instagram!
*There are affiliate links in this article. That means if you buy an item through one of these product links, we get a small commission without it costing you a cent more.
Similar Posts
Advertisement
Similar Posts
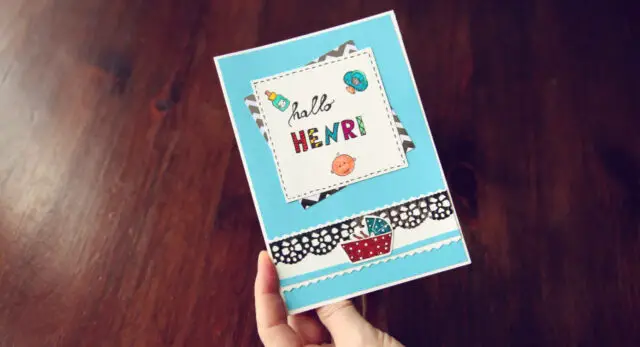
Congrats on Newborn Baby Card – Stampin up DIY ? | Tutorial
Stamp, colour, stick. All you need to make this DIY baby card is paper, stamps, markers and tape. Conjure up a loving welcome!
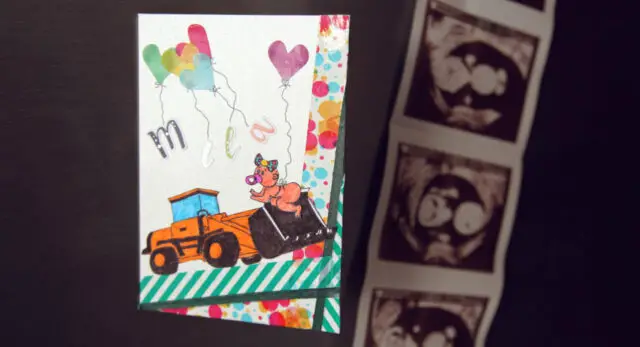
Homemade Baby Card Idea With a Excavator | Tutorial
Stickers, tape, baby and digger, that's all you need to make this fun baby card. You can print out the template for the excavator and baby here for free!
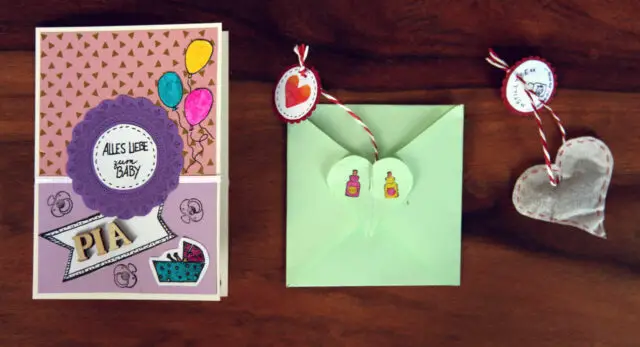
DIY Welcome Baby Girl Card With Cute Surprise for Mom | Tutorial
There is a lot of love in this card! When you open it, a sweet homemade surprise for breastfeeding awaits the new mum.

Congrats Baby Boy Card – Cute DIY With Stamps | Tutorial
Stamp, punch, colour. Create a super cute welcome with baby motifs. Design the front and the inside of the card and get creative!
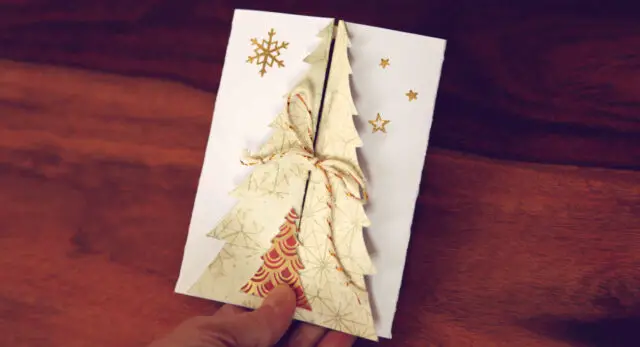
How to Make a Christmas Tree Card | Tutorial
Simple DIY idea for a Christmas card with a fir tree to open. There's a surprise hidden inside!
New Baby Girl Card - Easy and Cute DIY Idea ?| Tutorial
This welcome greeting for a girl is copied in a short time and is guaranteed to bring great joy. This is how to do it yourself.
