18. November 2018 - Alexander Schmidt
How to Make a Star of Betlehem Advent Calendar | Tutorial
in

Christmas
Share
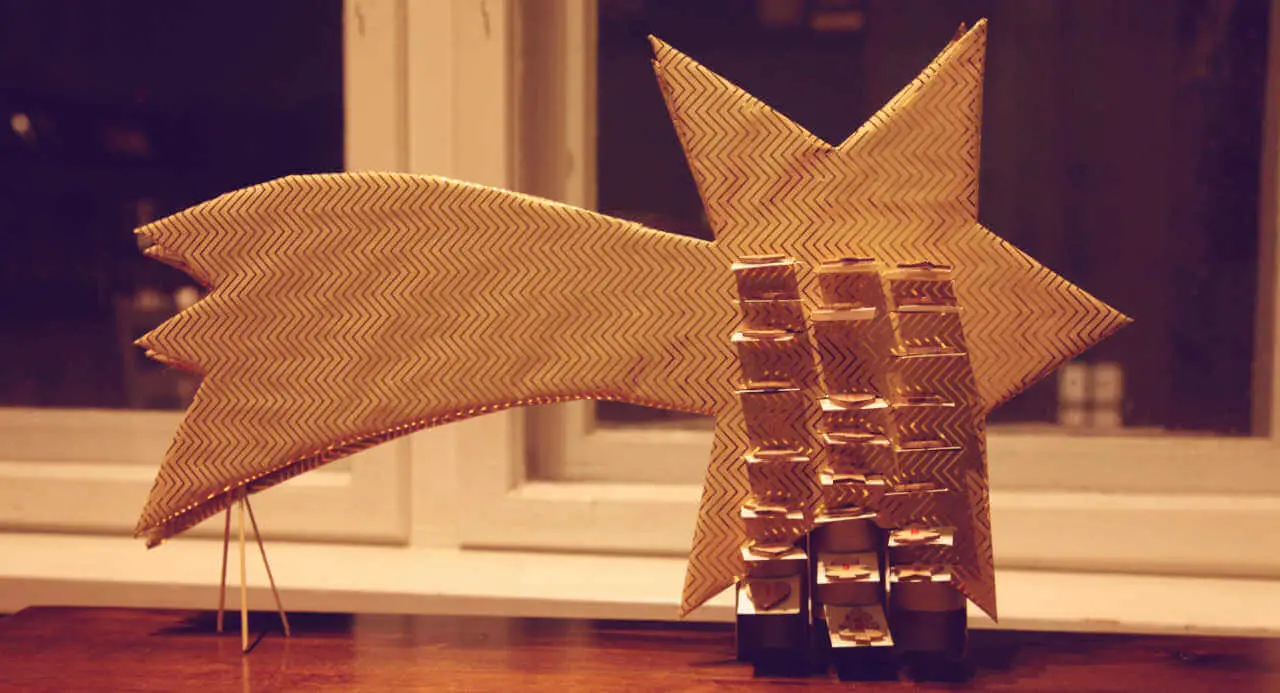
Self-made instead of bought: a DIY Advent calendar is unique and made with love. Here’s how to make a star of Betlehem Advent calendar in the shape of a shooting star from which a little treasure will fall 24 times.
The pre-Christmas season is approaching and all those who like to surprise their loved ones with something homemade now have the perfect opportunity to do so.
Whether it’s a Christmas decoration, a surprise for St. Nicholas or a DIY Advent calendar – homemade items are particularly personal and show the recipient that you’ve made an extra effort for him or her.
Last year we shared 3 DIY advent calendar tutorials with you, dear Abenteuer Freundschaft readers, and this year we’re adding 2 more very different ones.
This DIY advent calendar is clever and can be filled with sweets, vouchers or other surprises that fall down when you pull out a divider through a tube. At Abenteuer Freundschaft, you’ll also find inspiration for creative advent calendar fillers for adults and small surprises for kids.
Since we designed this DIY Advent calendar ourselves, you can only find the instructions for a calendar in the shape of a large shooting star on Abenteuer Freundschaft: it is the famous Star of Bethlehem, which, according to the Bible, showed the wise men from the East the way to the manger with the baby Jesus.
This Advent calendar requires about 2 – 3 hours of work.
Material List*
- 2 large sheets of cardboard (e.g. from moving boxes), approx. 65 cm x 36 cm
- 3 kitchen rolls
- golden spray paint
- All-purpose glue
- Hot glue gun
- cardboard white
- cardboard red
- Advent calendar numbers
- Baker’s twine
- Gold patternes wrapping paper
- Scissors
- Nail scissors
- Set square
- Measuring tape
- Cutter
- Pencil
- Shish kebab skewers
How to Make the Star of Betlehem Advent Calendar
Tip: why not make an Advent calendar together with the little ones? This is certainly one of the most enjoyable activities with children in the run-up to Christmas.
1. Colouring In and Cutting Out
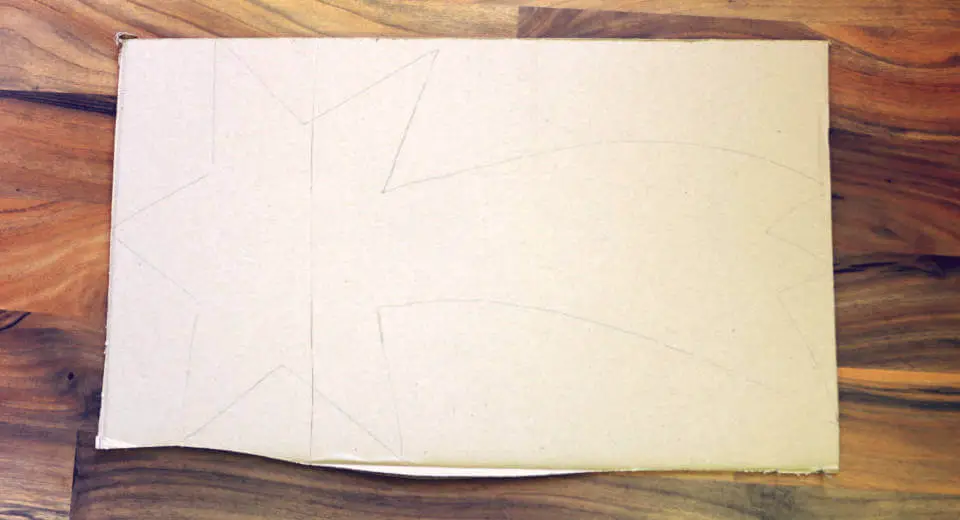
Pre-painted star on cardboard
First of all, draw a 63 cm long and 34 cm wide shooting star on cardboard. You should keep to these measurements so that there is room for the 3 kitchen rolls next to each other and they only stick out at the bottom.
After cutting out the star, use the cut-out shooting star as a template to make an identical front and back of the DIY Advent calendar and cut these out too.
With a pencil and using the triangle, draw 8 horizontal 5cm marks on each kitchen roll. Keep in mind that the bottom end of the kitchen rolls protrudes from the shooting star as a stand and that the slits may be visible. In the end, push the dividers into these slots, which will be pulled out day by day in this DIY alphabet calendar.
Cut out the slits along the marks with a cutter. Make sure they are wide enough for the cardboard dividers to slide in easily.
At the bottom of the kitchen rolls, where you want the little treasures to tumble out of the Star of Bethlehem, draw 3 equal-sized arches and cut them out.
Important: Mark the 3 tubes in the order in which they should stand next to each other and measure out the distances of the slits for each one, because you will have to transfer these to the front of the shooting star later.
3. Glue the Kitchen Rolls Onto the Back Wall and Spray
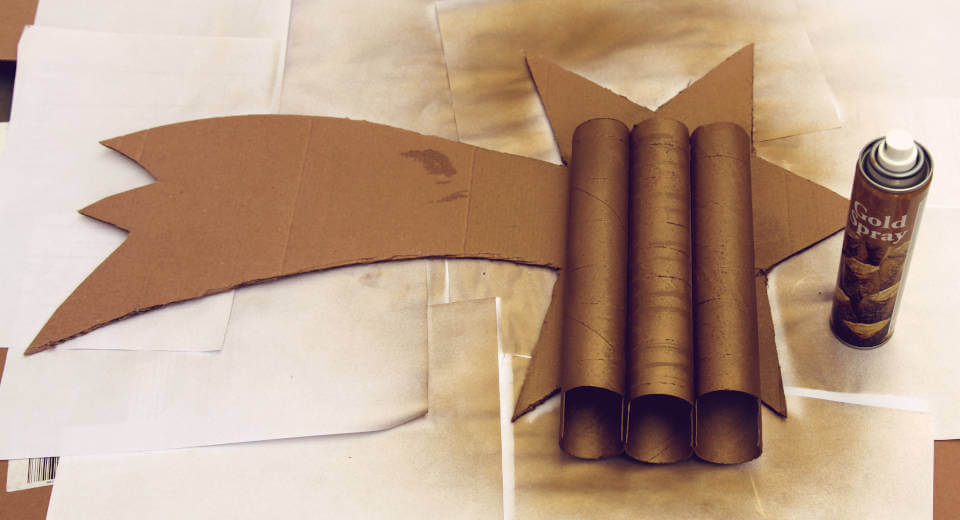
The most important thing is that the tubes are golden
Now place the 3 kitchen rolls on the shooting star that is to form the back and stick them on next to each other with all-purpose glue so that they overlap at the bottom and the 3 gates face the front.
Use a pencil and a triangle to draw a line along the top edge of the tubes to help you stick them on exactly vertically.
Once the glue is dry, spray the tubes with gold spray.
4. Transfer the Slits to the Front
While the gold spray is drying, draw a line along the top edge of the tubes on the back of the front of the shooting star along which you will glue the tubes exactly.
Then measure and transfer the exact position of the slots on the kitchen rolls to this marked area and cut them out with the cutter.
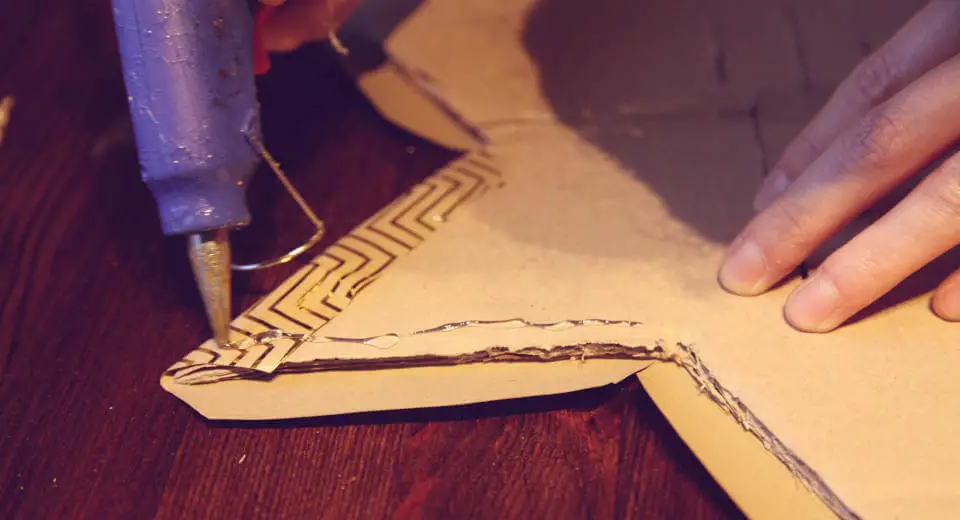
5. Wrap the Shooting Stars With Wrapping Paper
Now wrap the front and back of the DIY Advent calendar with wrapping paper. To do this, I placed the shooting stars on the wrapping paper, circled them, left a 3 cm wide glue edge overhanging and cut out along it. I used a hot glue gun to stick them in place.
Apply glue…

…and press together
6. Glue the Star of Betlehem
Now score the slits on the front again so that they also go through the wrapping paper and glue the shooting star on top of each other. Make sure that the slits are exactly on top of each other, because this is the only way to make the advent calendar work.

Trace the slits again with the cutter…

…and if necessary, cut out saueber in the front with nail scissors
7. Build a Stand for the Tail Out of Shish Kebabs
To make the DIY advent calendar stand, you still need to stabilise the tail. We simply glued a stand out of 3 shish kebabs.
8. Cut Out the Divider
Cut out a sample divider and test whether it is the right size to be inserted into the slots of the DIY Advent calendar. The dividers should stick out about 1.5 cm so that you can pull them out.
Use this divider as a template and cut out 24 of them. We used dark white craft card for this.
9. Number the Star of Betlehem Advent Calendar

The numbers should be arranged from bottom to top
Stick one number in the middle of each divider – we used wooden Advent calendar numbers for this.
10. Fill Advent Calendar From Bottom to Top
When filling and arranging the numbers, now proceed from the bottom slots to the top: Insert divider 1, fill contents from the top, then insert the next divider, etc.
This star of Betlehem Advent calendar is great for handwritten, rolled-up vouchers and small sweets. Each time you pull out the divider with the matching number, one of the vouchers tumbles out of the Star of Bethlehem.
We also have some genius voucher ideas for Christmas as tips for filling them. And take a look at our other Christmas gift ideas.
Don’t want to miss any ideas from Abenteuer Freundschaft? Then stay up to date by following us on Facebook and Instagram and subscribing to our newsletter.
*This article contains affiliate links. This means that if you order products through it, we receive a small commission. However, this does not change the price of the product.
Similar Posts


Advertisement
Similar Posts
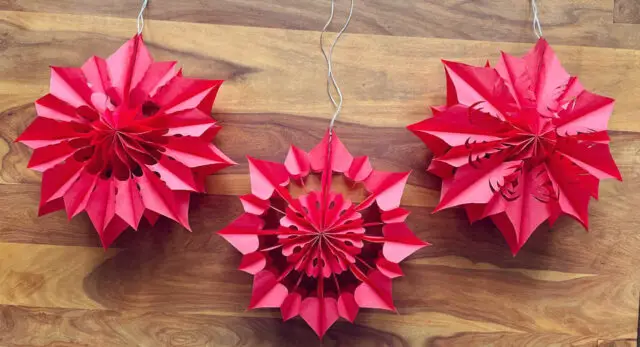
How to Make Paper Bag Stars and the 6 Most Beautiful Patterns | Tutorial
Beautiful and easy to make. These particularly clever patterns for paper stars can also be made by kids. The secret? The right tools!

Christmas Scavenger Hunt Game Ideas + 30 Tasks & Riddles
Whether outdoors or indoors: with these ideas for Christmas scavenger hunts a fantastic treasure hunt awaits you. With 30 tasks and puzzles for kids, teens and adults.

Christmas at Hogwarts – Have a Magical Christmas With Harry Potter
When Harry Potter experiences Christmas for the first time at Hogwarts, he can hardly believe how beautifully it is celebrated there. With these ideas, you too can bring some of Harry Potter's Christmas magic into your own home.

Modelling Clay Christmas Decoration: Precious 3d Christmas Tree & Star | Tutorial
Perfect as table decoration and for the Advent wreath. This is how to use modelling clay to create elegant poinsettias and fir trees.

How to Decorate the Christmas Tree: The Right Way to Do It!
There is such a thing as the right order for decorating a Christmas tree! Get the most important practical tips for the perfect, fresh Christmas tree and learn more about the ABCs of decorating!
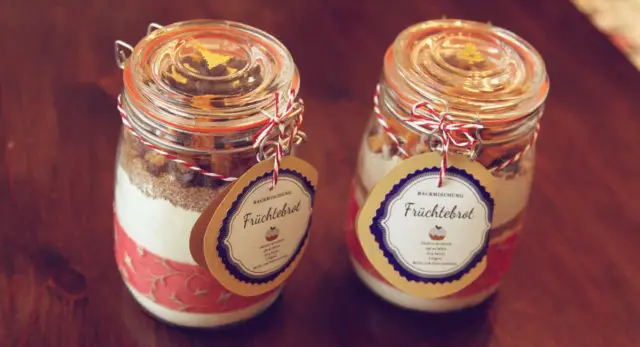
How to Make Your Own Fruit Bread in a Jar | Tutorial
Healthy fruits for those with a sweet tooth. The complete tutorial including recipe for a fruit bread baking mix in a jar.
