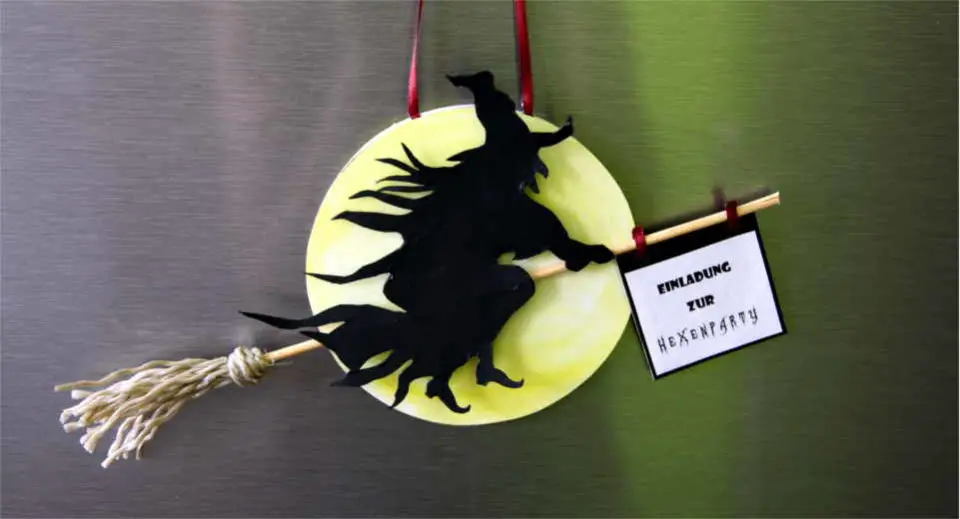
Color, cardboard, creativity are the magical ingredients for this easy DIY. This witch party invitation card can be crafted by little and grown up witches. Everything you need for crafting do you find in this tutorial.
Is there a nicer compliment than when you see the old witch party invitation card from Halloween last year hanging on the fridge next year? This time as a decoration, because the witch was much too beautiful to throw away. Reason enough for a craft tutorial to copy. 🙂
This card can also be made by children – small children, however, need help in cutting out the witch shadow outline. You can also simplify the template a bit and leave the fringes thicker. The materials you need for this are all cheap and listed in the instructions on the materials list.
There is space for the invitation text on the back of the full moon. By the way, we also have templates for creative Halloween party invitation wording for adults.
Greatime has more tutorials for Halloween invitation cards to DIY: graphic skull card, plastic pumpkin card, glow-in-the-dark spooky card, pretty Halloween card with witch cauldron and the Halloween card with bat.
Witch Party Invitation Card for Halloween
Duration: for 10 cards about 2 hours
What you need
- Witch
- Cardboard
- 1 skewer per witch party invitation card
- Twine
- Dark red satin ribbon (3 mm)
- Black acrylic paint
- White acrylic paint
- Yellow acrylic paint
- Printed text
- Palette
- Scissors
- Compass
- Revolving punch pliers
- Hot glue gun
- glue stick
- Bristle brush, size 10 (I use high-quality da Vinci brushes*)
How to Craft a Witch Party Invitation Card

The following instructions describe how to make a card. If you plan to make 10, 20 or more witch party invitation cards, it is most time-saving to do step 1 for all the cards first, then step 2 for all the cards, etc.
1. Print Witch Template and Text

To make the witch Halloween invitation cards, first download the flying witch template and copy it into a Word document. Format it to about the size: height 11 cm, width 10 cm, so that the card still fits into the envelope. Below it, write Invitation to in Showcard Gothic font, size 14, and Witch Party (or Halloween Party) in Zombie Holocaust font, size 16.
2. Cut Out and Paint the Witch and Moon

Glue the witch with glue stick on the cardboard and cut it out as well as the text as a rectangle with the measurements: Height: 3.5 cm, Length: 4 cm. Add a rectangular piece of cardboard with the dimensions: Height: 4 cm, Length: 4.5 cm.
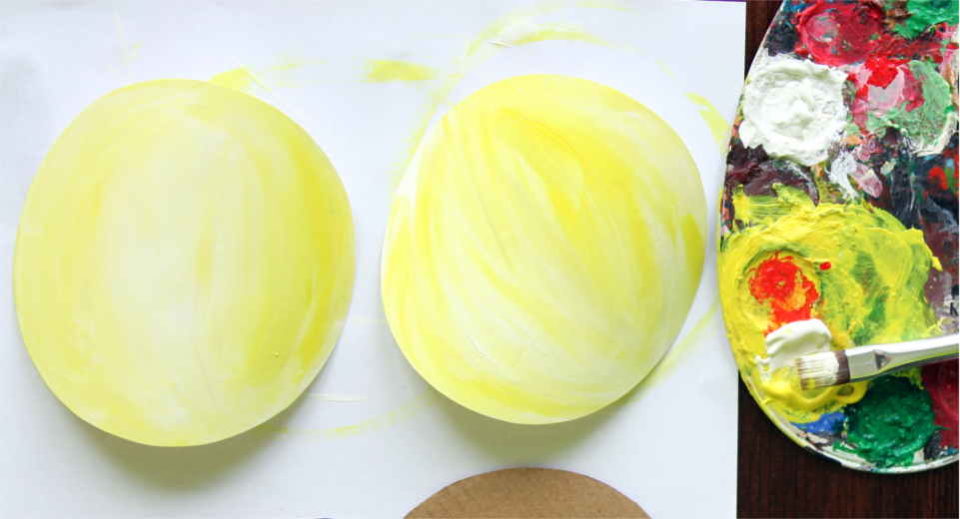
For the moon, draw three circles 10 cm in diameter with a compass: two on the clay cardboard and one on the thick cardboard. Then cut them out.
Use black acrylic paint to paint the witch and the small rectangular piece of cardboard on both sides. For the front and back of the moon, paint the cardboard with white and yellow.
3. Craft the Witch’s Broom and Fix the Elements of the Witch Party Invitation Card

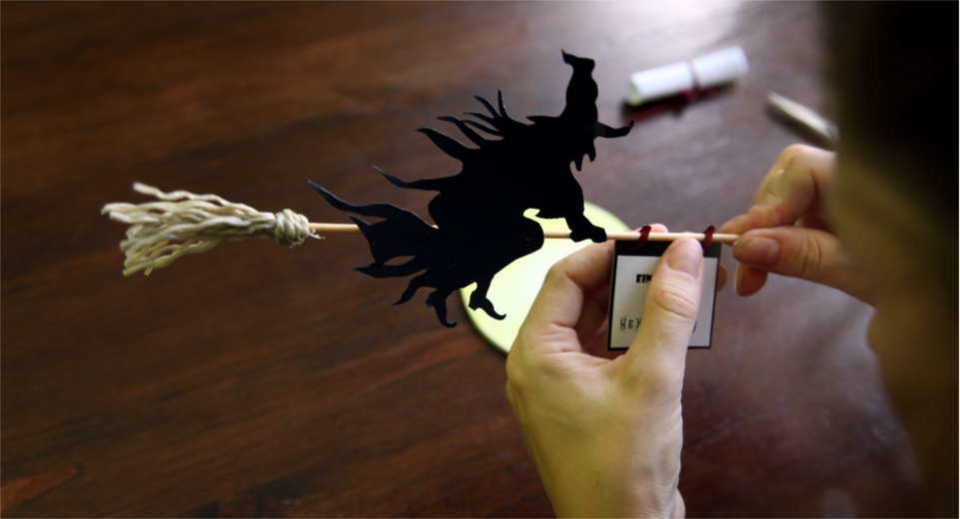
For the witch’s broom, cut a piece of twine into 12-14 small 5.5 cm pieces, bundle them and wrap one end with another piece of twine that you fix with the hot glue gun. Insert the pointed end of the shish kebab into this knot and glue it in place with the hot glue gun.
Use the glue stick to glue the front and back of the moon onto the thick round cardboard disc. Then glue the witch to the broom and the broom to the moon so that the witch rides up at an angle with only her hat and a scrap of her coat sticking out above the moon.
Finally, punch two small holes in the black painted cardboard with a hole punch, glue the text on one side and thread a 1.5 cm long piece of dark red satin ribbon through each hole. fix the satin ribbon with the hot glue gun on the witches broom and trim the witches broom to the desired length.
Tip: On the back of the text board you can write the name of the guest – on the moon is space for the invitation text.
Take a look at our other Halloween ideas! Or maybe you’re looking for non-specific good activities with kids? We would love, if you follow us on Facebook and Instagram.
*There are affiliate links in this article. This means that if you order a product through one of these product links, Greatime may get a small commission without making the product more expensive for the buyer.

![Magical Witch Party Invitation Card Enchanted Diy Tutorial [Uber En="Craft*Instructions*for*a*Witch*party*Invitation*Card" De="Bastelanleitung*für*die*Halloween*Einladungskarten*mit*Hexe"]](https://greatime.de/wp-content/uploads/2018/10/halloween-einladungskarten-basteln-3d-karte-960x520.jpg)


![Uber En Quot Toilet Roll Chick Quot De Quot Osterk Ken Quot [Uber En="How*to*make*a*toilet*roll*chick" De="Osterküken*basteln*aus*Klopapierrollen"]](https://greatime.de/wp-content/uploads/2018/03/osterkueken-aus-klopapierrolle-3.jpg)