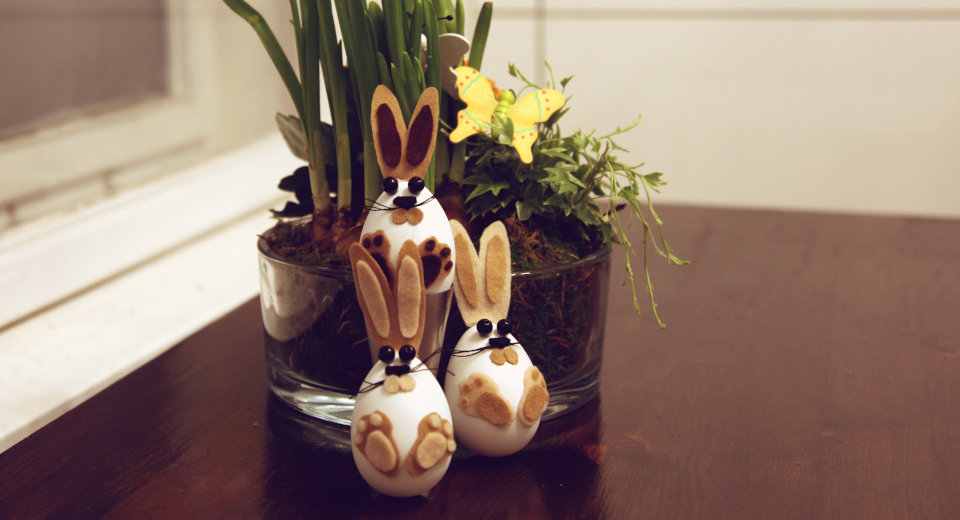
There’s a bunny in every egg! With felt and glue, you can make a cute DIY Easter egg bunny that makes a wonderful Easter decoration for your Easter bouquet. Simply print out the template and start crafting!
Actually, there is a chick in every egg waiting to hatch. But sometimes, when soft felt and a hot glue gun melt together, a long-eared chick hatches. In keeping with my Easter egg chicks, I set out to make DIY Easter egg bunnies this year. The bunnies are super quick to make, if you have everything on hand you only need to allow about 20-30 minutes for each bunny.
Either use natural looking plastic eggs like I do, or blow out your own white chicken eggs. Here are tips on what to look for when blowing out Easter eggs and how to do it best.
As always, you’ll find all the materials you need to make this craft on the materials list.
Material List*
- Plastic eggs or blown-out white chicken eggs
- Template with the stencils to print out
- Felt in 4 shades of brown and black
- Black plastic eyes
- Black yarn
- Hot glue gun
- Scissors
- Ballpoint pen
- Suspension for the eggs e.g. cord
How to Make a DIY Easter Egg Bunny

Time: 20-30 minutes
Craft Ears, Feet, Tails and Little Noses

Print out the template and cut out the templates for the ears, feet, tail and nose. For each bunny you need felt in two shades of brown. The ears, nose and feet are made of the first identical felt. The second brown felt is for the inside of the ears, the pads of the feet and toes and the tail.
Place the templates on the felt and draw around them with a biro (or white chalk on dark felt).
Now cut out the individual parts.
Glue the Felt Parts Onto the Egg

First glue the ears with the inner parts centred on top to the pointier side of the egg. They should be glued directly in front of the hole where the suspension will be attached and cover it. The easiest and quickest way to do this is with a hot glue gun, but it also works with all-purpose glue.
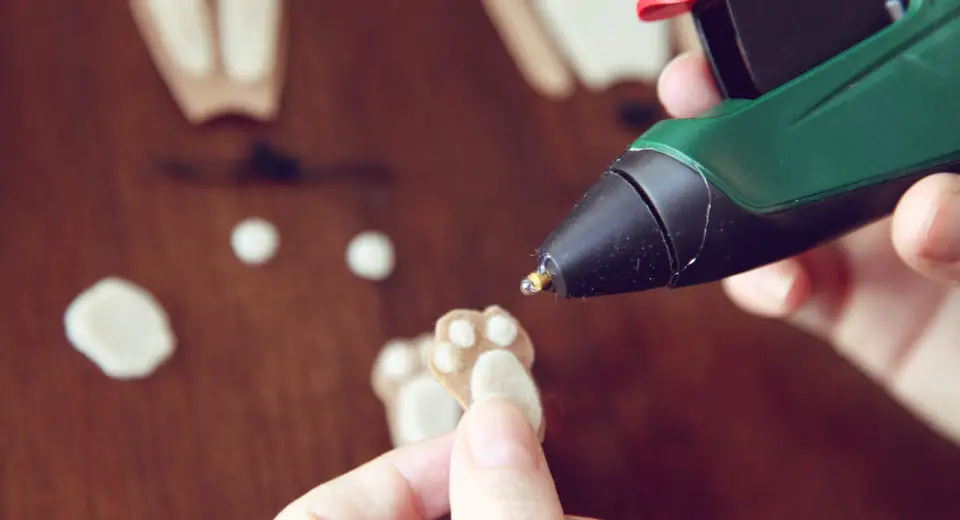
Especially the little toes are tricky. Glue the paw pads and toes to the feet first, before you glue them to the bulbous bottom part of the egg.
Glue the little tail to the centre back of the bunny’s bottom.
Finish the DIY Easter Egg Bunny

Now all that’s missing is the bunny’s face. Cut three pieces of thread about 4 cm long, lay them on top of each other and knot them in the middle. Glue the black nose with a drop of glue over the knot that bundles the tactile hairs and glue it onto the egg. Underneath come the round felt parts of the bunny’s snout.
Between the ears and the nose come the eyes. Glue them very close together between the ears and the nose. 🙂
Have fun making the Easter bunny out of eggs and Happy Easter!
Are you looking for creative Easter ideas? On Greatime you’ll find lots of crafting ideas and nice ideas for Easter games and the Easter celebration. And when it’s not Easter, it’s time to enjoy life to the fullest with great activities with kids, your partner or friends. Life is too short for boredom!
Do you like Greatime? Follow us on Facebook and Instagram and never miss a good idea again! 🙂
*There are affiliate links in this article. That means if you buy an item through one of these product links, we get a small commission without it costing you a cent more.

![Diy Easter Egg Bunny As A Cute Easter Decoration Tutorial [Uber En="Make*a*DIY*Easter*egg*bunny*with*these*simple*instructions" De="Mit*der*einfachen*Anleitung*einen*Osterhase*aus*Eiern*basteln"]](https://greatime.de/wp-content/uploads/2021/04/osterhase-aus-eiern-basteln.jpg)
![Uber En Quot Diy Pop Up Card With An Elephant Quot De Quot S E Pop Up Karte Quot [Uber En="How*to*make*a*cute*easy*DIY*pop-up*card*with*an*elephant" De="Süße*Pop-Up-Karte*mit*Tiermotiv*basteln*-*So*geht's"]](https://greatime.de/wp-content/uploads/2020/07/pop-up-karte-mit-tiermotiv-basteln-titelbild.jpg)
![Uber En Quot Easter Card Quot De Quot Osterkarte Quot [Uber En="Design*your*own*Easter*card*with*stamps,*scatter*decoration*and*motif*paper" De="Osterkarte*selbst*gestalten*mit*Stempeln,*Streudeko*und*Motivpapier"]](https://greatime.de/wp-content/uploads/2021/03/osterkarte-selbst-gestalten-mit-hasen.jpg)
![Uber En Quot Birthday Card Quot De Quot Geburtstagskarte Quot [Uber En="Handmade*birthday*card*with*wishes*on*the*front*and*inside*of*the*card" De="Geburtstagskarte*basteln*mit*Wünschen*auf*Vorder-*und*Innenseite*der*Karte"]](https://greatime.de/wp-content/uploads/2021/09/geburtstagskarte-basten-mit-wuenschen.jpg)