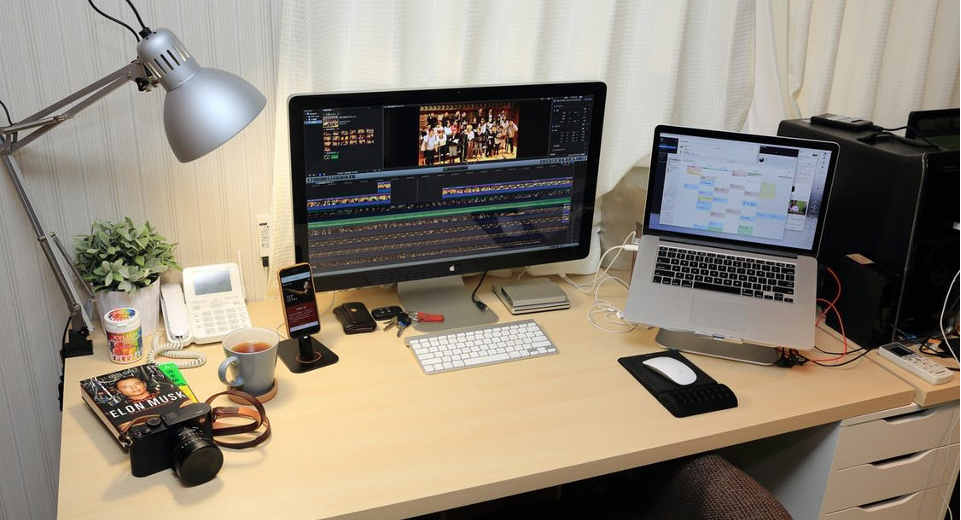
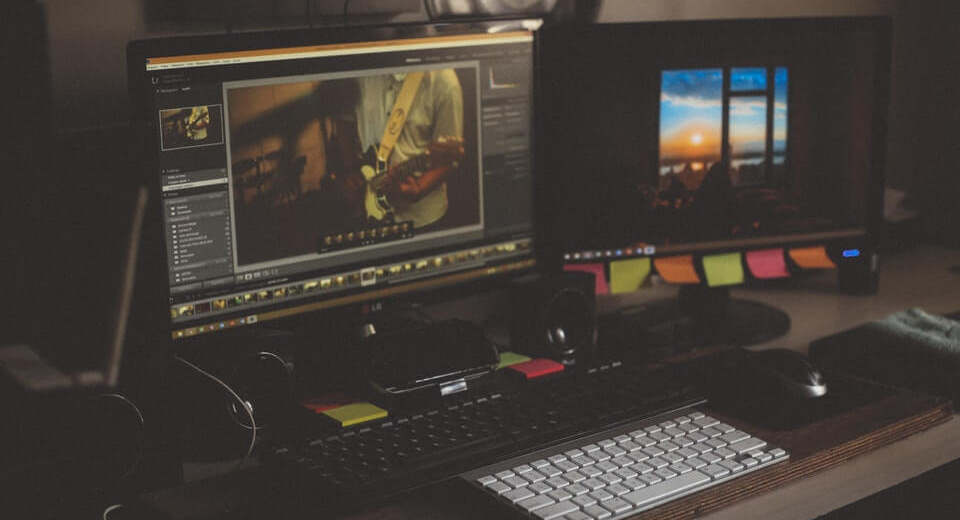
Everyone can edit videos on a PC or smartphone. But not everyone knows what’s important in editing to make your video work and look really cool. This is an quick guide how to cut a video and what you should know!
You have shot an awesome short film with the active support of friends. You have everything in the can, the film is practically finished. Well, it still needs to be edited, but that almost runs by itself with the right software. Right?
Well, not quite. Of course, good material is the basis of every good film or video, but it’s in the editing that you bring it to life! Editing really cool videos requires more than a good programme, but even as a layman and hobby filmmaker you can already make a big difference if you follow a few basics. These are essential basics how to cut a video everybody can easy realize.
How to Cut a Video – Essential Basics
1. Cut Strong Images at the Beginning of Your Video

You know it from the cinema: a film captivates you immediately if it starts with strong images. If it immediately grabs you emotionally, keeps you on the edge of your seat with fast-paced action, arouses your curiosity or makes you laugh. The beginning of a film is often crucial to winning the audience over, so do your best to captivate your audience from the start!
- Strong images are emotional! Instead of starting at the beginning of an argument, jump right in when emotions are running high. Show a close-up of a woman crying. Start with a vase thundering and smashing against the wall. Pull the audience into the emotion as quickly as possible.
- Strong images are action-packed! You probably know James Bond films: at the beginning there is always a fast-paced action sequence that immediately sweeps the viewer along and offers a foretaste of what is to come. Only then does the explanatory exposition of the plot take its course in quieter scenes.
- Striking images are enigmatic and arouse curiosity!Through the viewfinder of a sniper rifle, a window is seen, behind which a man is moving. Cut. A black-gloved hand cocks the trigger of a rifle. Cut. The man is still standing at the window, suddenly a woman steps next to him and leans forward to kiss him. Black frame, a shot, a scream. Now you can safely cut to a quiet dialogue scene in a bourgeois living room and your viewer will still look on spellbound, wondering all the time: What happened? Who was shot? Who pulled the trigger and why?
- Strong images are funny! Your film should be funny and put you in a good mood? Then start with a really good laugh and get your audience in the right mood right away!
2. Build Suspense Through Time Jumps
To start with strong images, it sometimes makes sense not to tell your story chronologically. You may have written the story or your script that way, and you may have shot it in order, but often the same images and scenes have a much stronger impact if you change their order!
Cult films like Pulp Fiction and Memento masterfully use non-chronological storytelling to build tension and cleverly play with audience expectations. But you don’t have to play with the chronology of your film in such a virtuoso way. There are two simple but highly effective time jumps that you can use to create tension and transform your film from good to awesome in the edit: advance and flashback.
If your story is about a conflict that slowly builds up and culminates in a furious finale… Show a short clip of this finale at the beginning, without giving too much away, of course. For example, the hero of your film lies injured on the floor with eyes widened in terror and stammers: “No…. don’t, please don’t…” Cut. Font insertion: 1 week earlier. After this tension-creating prelude, you let the conflict build, but the audience is already hooked, because they know there’s something big coming.
Or you work with a flashback. Flashbacks usually tell something that happened before the beginning of the actual plot, so it would actually come first. But a cleverly used flashback can, for example, make for a really good twist. For example, it shows the audience an event much later in the film that suddenly puts a character or even the whole plot in a completely different light!
3. How to Cut a Video – Pace and Rhythm

Every film and every video needs a tempo and a rhythm. Editing is crucial for both. And both are not determined by how long a film is or should be, but by the effect you want it to have, the feeling you want to convey. For short films and for beginners, it is advisable to maintain a tempo and an editing rhythm in the film.
Is your film about love or other big emotions? Then a slow editing rhythm is usually a good choice. Especially mimic reactions need time to unfold their effect and appear authentic. A fast MTV cut will ruin more than it helps. If, on the other hand, you want to create action and suspense, fast cuts are the way to go. But be careful: sometimes a very slow scene can increase the tension immeasurably. Think of scary films or thrillers! And even in comedies there are such and such: fast or slow.
In any case, you should consciously decide on a certain narrative tempo and a certain cutting rhythm and implement both consistently.
4. Change Perspective
If you followed our Tips 1 and 2 when shooting (see our Basic Guide Shoot awesome videos), you will already have a huge advantage when editing videos: enough material for a nice edit with different perspectives!
Most scenes gain by showing them from more than one perspective. Imagine a dialogue scene with two people in a café who are just getting to know each other and flirting. Filmed from only one perspective, it can be quite dull in the worst case and the scene doesn’t develop the optimal emotional effect. But if you cut to close-ups of their faces at crucial moments (using the shot-counter-shot principle) and include small but meaningful gestures in between, the scene immediately becomes more lively, believable and emotional.
5. Editing Liquid Videos – Connection Is Not Only at the Station
When puzzling together the different perspectives of a scene, you should make sure to create a fluid cut. By this I mean: functioning connections, the image should not jump. So-called jump cuts, where the image visibly jumps and the cut is therefore really noticeable to the viewer, can be used selectively as a stylistic device, e.g. to visually emphasise confusion of the protagonists, the passing of time, a turning point in the plot, etc. But in many cases it simply looks unflattering. In many cases, however, it simply looks unprofessional, like not wanted, but not better done!
Even when shooting a scene from several perspectives, one should therefore pay attention to continuity. This includes not only that the actors wear the same clothes, but also that they always make the same gestures and movements while playing a scene. The best way to achieve fluid editing is to cut into the movement, for example, when someone runs through their hair, puts their hand in front of their mouth, reaches for an object, touches another person, etc. This is the best way to create a fluid scene.
Transitions from one room to another room also look fluid if you cut into walking or the opening of a door, once filmed from the perspective in one room, once in the other.
Important: In the edit, you should look for the exact place where the movement in one perspective is in the same place as in the other perspective. Otherwise you will create an (unintentional) jump cut or a so-called double take, where the person seems to perform part of their movement twice.
6. Cutting the Sound in Videos

Watch out for sound holes! If you notice that there was a strange noise in the background of a scene that you didn’t notice when you were shooting, you can of course eliminate it in the edit. However, this creates a sound hole, because even if no one is speaking at the moment, absolute silence can never be heard on a sound track. So fill the gap with a piece of suitable “”atmo”” (background sounds of this scene).
Many noises do not come out as crisp as you would like them to when shooting live sound. However, noises and sound effects make up an important part of the atmosphere of films, be it the bang of an explosion, pattering rain or the creaking of old wooden floorboards. Even the biggest Hollywood productions sometimes reach into their bag of tricks and take sounds recorded elsewhere from their sound archives. Meanwhile, there are good free sources on the internet for the most important sound effects and noises.
10. Your Film Is Getting Too Looooong
One of the most important and hardest lessons to learn, not only for video editing but for any creative activity, is Kill Your Darlings!!!.
You’ve finally got everything in the can, it’s the end of the shoot and you’re in good spirits. Maybe not everything went like clockwork, but there’s one thing you can be sure of: the tracking shot along the coffee table looks absolutely awesome! Totally successful! The best shot of your film!
Then you go into the edit and cut everything together, including of course this suuuper tracking shot at the coffee table. It comes right after the protagonists’ argument. You watch the film in the raw version: it’s all right, but somehow too long. You show your film to another buddy, his verdict: the plot is good, but it drags a bit.
You think and think about which scene you could cut out in order to increase the pace of the film…
It takes some effort now, but it’s necessary: you have to cut out your supposed highlight from the video! Lo and behold, the film is better!
Cut all the images from the film that you don’t need to understand the plot or build the atmosphere! Knowing which images are and which aren’t is one of the hardest things about making videos or films. Here, different opinions help immensely, especially from friends who have had nothing to do with the film so far!
Most important tip: Better too short than too long! Because the first rule for films is: Never be bored! Never, never, never!!!
If you keep these basic tips about how to cut a video in mind, you will get the best out of your material!
On the Leisure Ideas portal you’ll find outing tips and various colourful ideas for indoor activities. There’s also inspiration for gifts and for different leisure ideas for activities with friends, family and partner.
Stay up to date and follow Greatime on Facebook and Instagram!

![How To Cut A Video Essential Basics Everybody Should Know [Uber En="This*is*how*to*cut*a*video*at*home*on*their*computer*or*even*smartphone." De="Videos*schneiden*kann*heute*jeder*zu*Hause*auf*dem*Computer*oder*sogar*dem*Smartphone."]](https://greatime.de/wp-content/uploads/2017/07/videos-schneiden.jpg)
![Uber En Quot Exit Puzzle The Circle Rome Quot De Quot Exit Puzzle The Circle Rom Quot [Uber En="The*Exit*Puzzle*The*Circle:*Rome*is*part*of*an*Escape*Puzzle*trilogy" De="Das*Exit*Puzzle*The*Circle:*Rom*ist*Teil*einer*Escape*Puzzle-Trilogie"]](https://greatime.de/wp-content/uploads/2022/10/exit-puzzle-the-circle-rom.jpg)
![Uber En Quot Mario And Luigi Quot De Quot Mario Und Luigi Quot [Uber En="The*Mario*Kart*drinking*game*is*a*fun*party*game*for*hard-drinking*gamblers." De="Das*Mario*Kart*Trinkspiel*ist*ein*witziges*Partyspiel*für*trinkfeste*Zocker."]](https://greatime.de/wp-content/uploads/2017/03/mario-kart-trinkspiel.jpg)
![Uber En Quot Adventure Games Monochrome Inc Quot De Quot Adventure Games Monochrome Ag Quot [Uber En="Review*of*Adventure*Games*Monochrome*Inc." De="Rezension*von*Adventure*Games*-*Die*Monochrome*AG"]](https://greatime.de/wp-content/uploads/2020/02/monochrome-ag-1-titlebild.jpg)