30. March 2018 - Anika Semmer
How to Make Decoupage Easter Eggs With Napkins | Tutorial
in
Easter
Share
Coloured Easter eggs with great motifs are easy to make yourself: all you need are beautiful napkins and glue. This is how to make decoupage Easter eggs.
You can decorate all kinds of objects with napkins: Clay pots, picture frames, cardboard boxes – and Easter eggs. Since my childhood, however, the napkin technique has fallen into oblivion for me.
The napkin technique is wonderful if you want to make last-minute Easter eggs or do crafts with children. I decorated my Easter eggs with spring-like flower motifs and glued them with fabric ribbons. It’s quick and easy and looks really pretty.
More Easter ideas with instructions at Abenteuer Freundschaft: Marbling Easter eggs with nail polish and for patterned Easter eggs I got creative with washi tape, Easter egg dye and a permanent marker.
Materials You Need
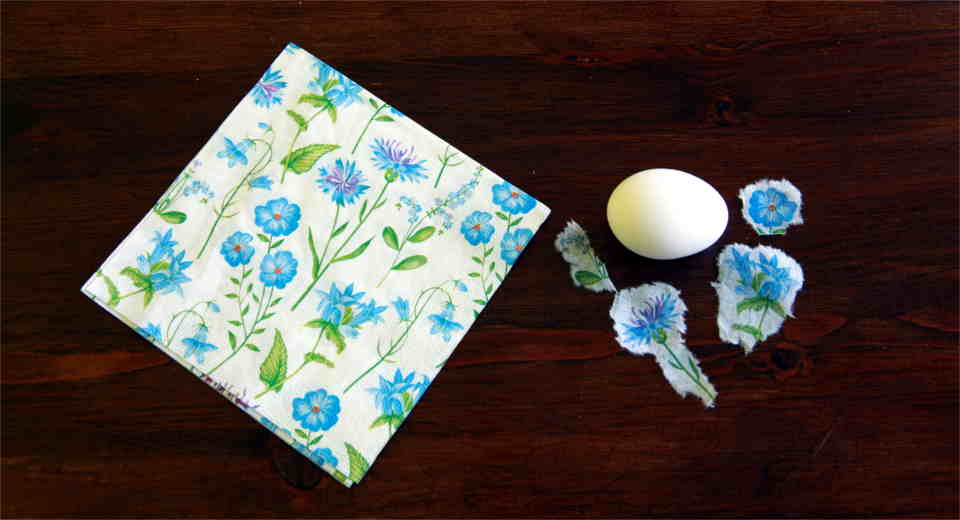
- Blown out Easter eggs or plastic Easter eggs*
- Toothpicks
- White satin ribbon (3 mm)
- Yellow fabric ribbon (1 cm)
- Napkins with small motifs
- Napkin glue
- Flat brush
- Glue gun*
*


How to Make Decoupage Easter Eggs With Napkins
You only need 1 layer for the napkin technique
1. Tear the Napkins
First, carefully tear apart the napkin – it usually consists of 3 or 4 thin layers of paper. You only keep the layer with the motif printed on it, you don’t need the white layers. Then you very carefully tear out small motifs. Tearing is better than cutting in this case, by the way, because it makes it easier to conceal the edges.
2. Glue on Motifs and Seal
Then brush a thin layer of napkin glue onto the egg and let it dry briefly. Now place the torn out motif on top and dip the brush into the napkin glue and carefully brush the motif from the inside to the outside with the glue. Use the glue sparingly and paint until there are no more wrinkles.
The motif should be completely covered with napkin glue and thus sealed.
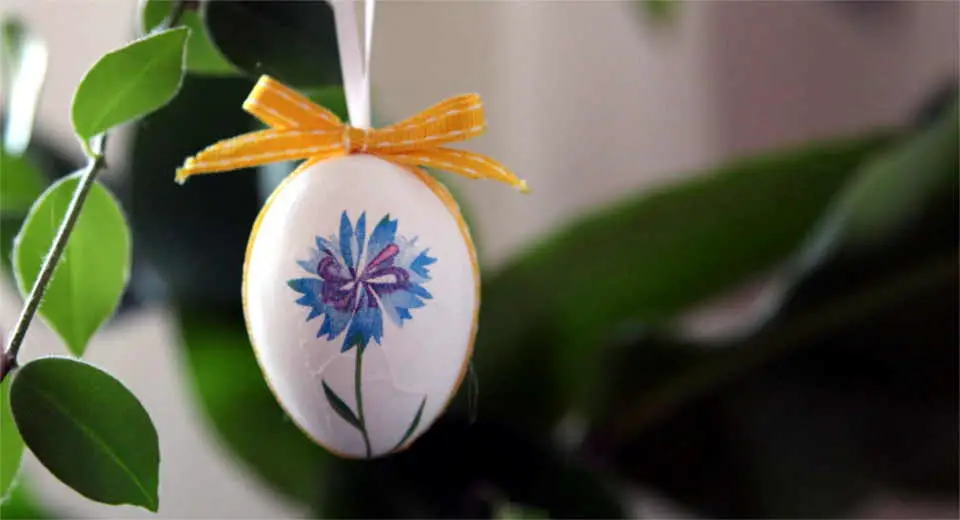
I glued two flowers as a motif on each of two opposite sides, leaving space on the sides for the fabric ribbon.
3. Designing Easter Eggs With Napkins and Ribbons
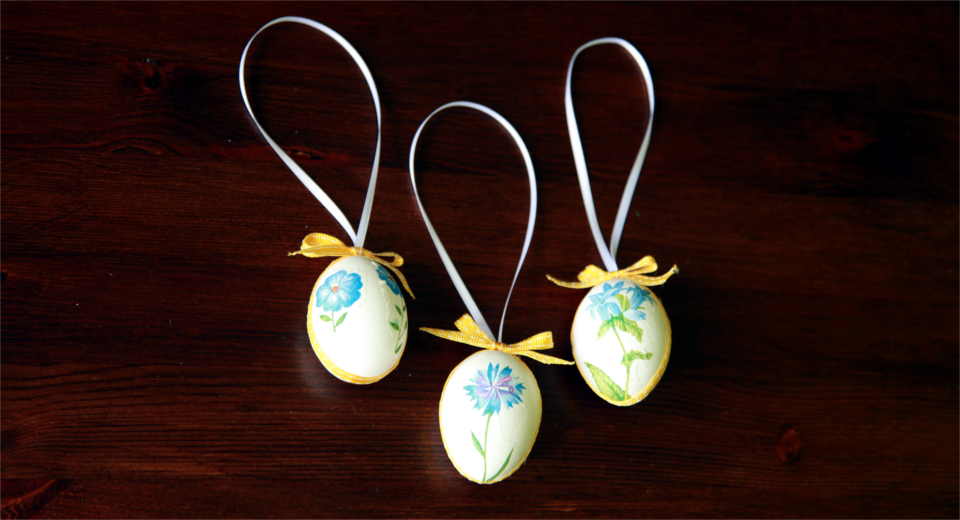
This is how to make decoupage Easter eggs with napkin technique and fabric ribbon
Once the Easter egg is dry, you can move on. I first glued the yellow fabric ribbon once around the egg and left the opening of the egg free at the top.
To hang it up, I broke a toothpick into pieces about 0.8 cm long, stuck it to a thin white silk ribbon and pushed it into the opening until the piece of wood layed across. But there are also ready-made hangers.
*
Now I just tied a bow and glued it to the top of the egg to hide the glue line for the ribbon and the hole for hanging.

Discover even more simple crafting ideas with instructions to follow! All year round and for special occasions, it’s worth browsing through the leisure ideas portal to find inspiration for gifts and nice activities with children, friends and your partner. Check it out!
Do you like Abenteuer Freundschaft and want to say thanks for the free ideas? Give us your Like on Facebook and Instagram!
*In this article we use affiliate links. This means we get a small commission if you buy an item through one of these links. This way you can support Abenteuer Freundschaft without it costing you a cent more.
Similar Posts
Advertisement
Similar Posts
Easter Scavenger Hunt for Kids – 5 Ideas How To Make Easter Egg Hunt an Exciting Adventure
The Easter egg hunt is the real highlight of Easter for children. With a little creativity and preparation, you can turn the search into an unforgettable scavenger hunt!
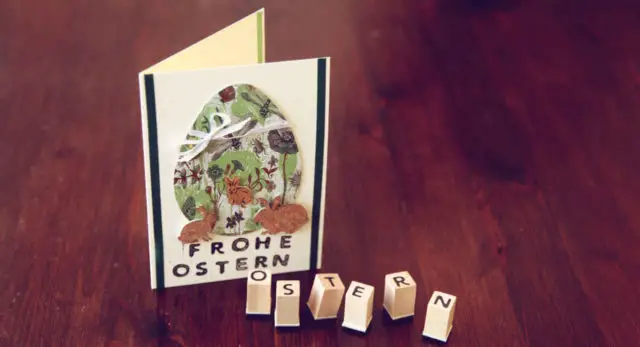
Handmade Easter Card: Superquick and Easy to Make | Tutorial
Cute bunny rabbits, colourful eggs, loving Easter greetings. This is how you can create a tasteful Easter card.
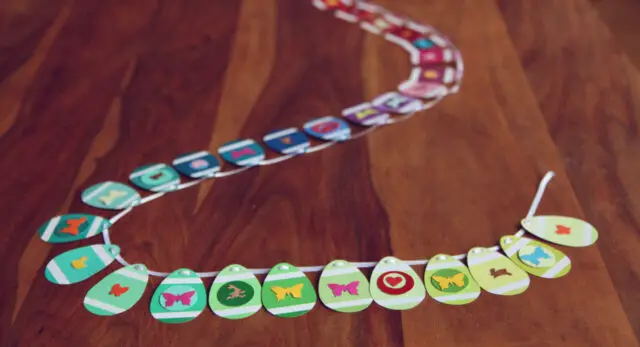
Easter Egg Garland DIY With Colour Cards | Tutorial
This is how to make a super simple upcycling Easter garland with free colour cards from the hardware store.

What Is Celebrated at Easter? This Is What You Should Know About It
Easter, that means chocolate Easter bunny, eggs and Holidays. But what is celebrated at Easter and why is this time so important for many?
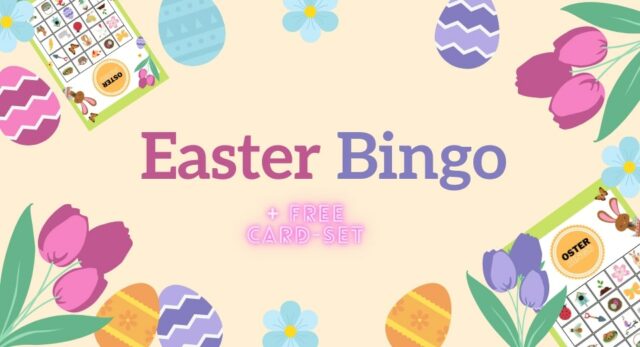
Easter Bingo Printable - Free Fun Easter Game for Kids and Family
Children can play Easter bingo alone or the whole family can play together. Our free Easter bingo printable with free bingo cards and all you need to start playing.

DIY Easter Egg Bunny as a Cute Easter Decoration | Tutorial
Sniffing nose, fluffy tail. Turn an egg into a cute bunny as an Easter decoration with felt. Super quick to make with the printable template!
