23. March 2019 - Alexander Schmidt
How to Make Crepe Paper Roses as Beautiful Decoration | Tutorial
in

Crafting
Share
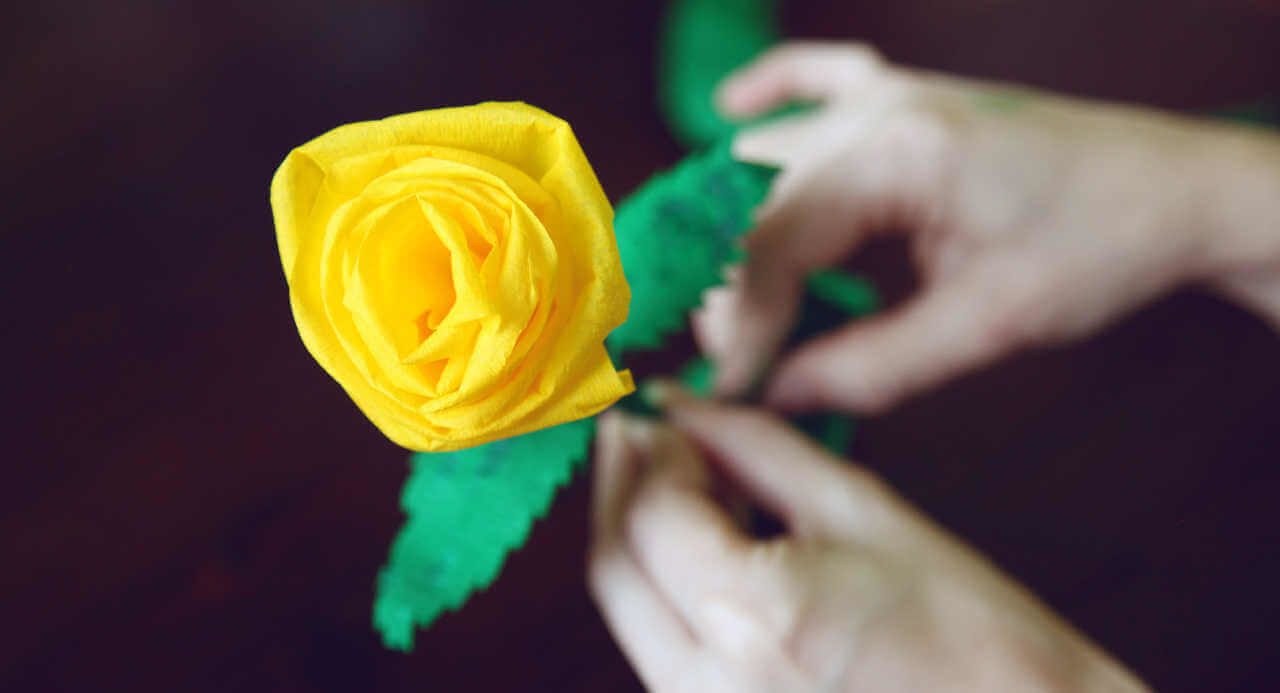
Crafting pretty crepe paper roses is surprisingly easy and the symbolic flower can be used as a decoration not only in spring. This is how to make crepe paper roses with some crepe paper, glue, wire.
Colourful flowers in warm colours are the spring decoration par excellence. But you don’t always have the time or money to put out fresh cut flowers every week. Artificial flowers are therefore a popular alternative and if you enjoy crafting, you can easily make them yourself. Firstly, homemade crepe paper roses look at least as good as bought plastic ones, if not better. Secondly, they can be made from inexpensive materials in a relatively short time and thirdly, you can vary their appearance as you wish.
And on top of that, crafting is a nice relaxing leisure activity that you can also do together with friends or together with children. These crepe paper roses are surprisingly easy to make and can also be made by younger children with a little practice.
How to Make Crepe Paper Roses as Gift or Decoration
Material list*
- Crepe paper in desired colours (think green for style too!)
- Slightly thickerplug wire / florist’s wire (0,8 mm)
- Thin Craft wire (0,3 mm)
- 1 Wooden skewer
- Paste
- Medium to fine brush (for the paste)
- Craft scissors
- Side cutters
- Craft mat
1. Cut Crepe Paper to Fit and Stretch One Side
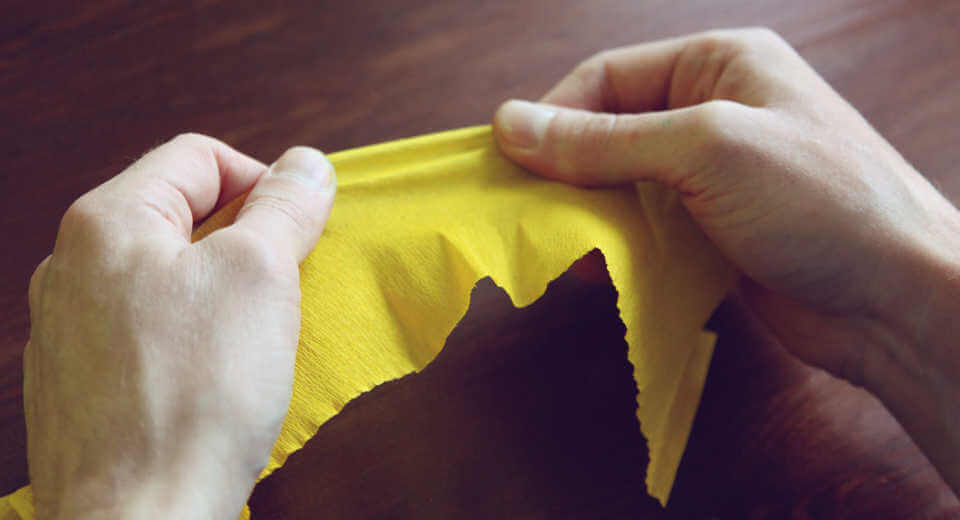
Carefully pull the crepe apart
Cut the crepe paper for the flower to a width of about 7 cm and a length of about 6 cm. The measurements can be varied to make different sized flowers. However, I would recommend that you first try it with these specifications before experimenting.
Now carefully stretch the crepe paper of one of the long sides. This will later become the outer edge of the rose petals.
2. Shape the Edges of the Rose Petals With a Skewer
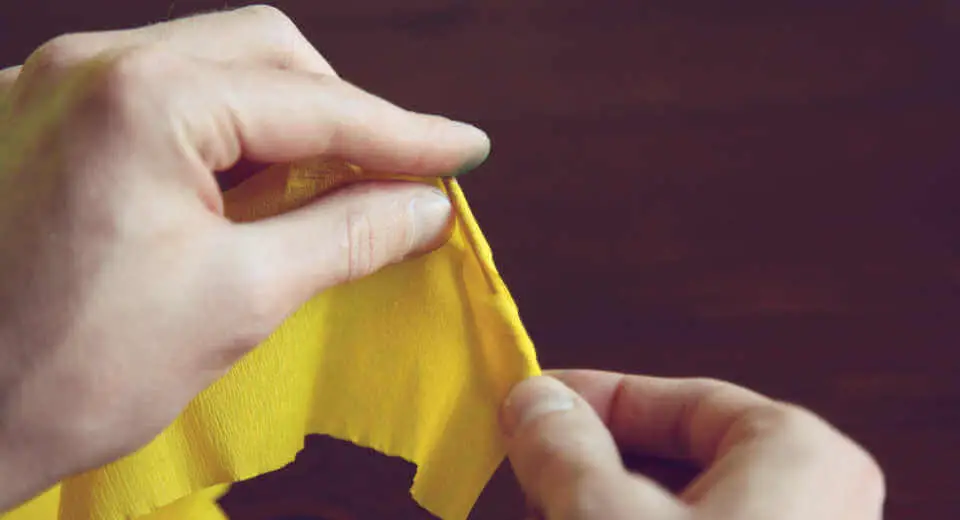
Only a small piece at a time is rolled around the skewer
Now wrap this pre-stretched edge piece by piece around a thin wooden skewer. To do this, gradually take a piece of the edge about 3 to 4 cm long and roll it up briefly on the wooden skewer. Leave a space between the rolled-up pieces and deliberately create corners between them. This suggests the individual rose petals.
3. Pinch off the Style and Wind Up the Flower
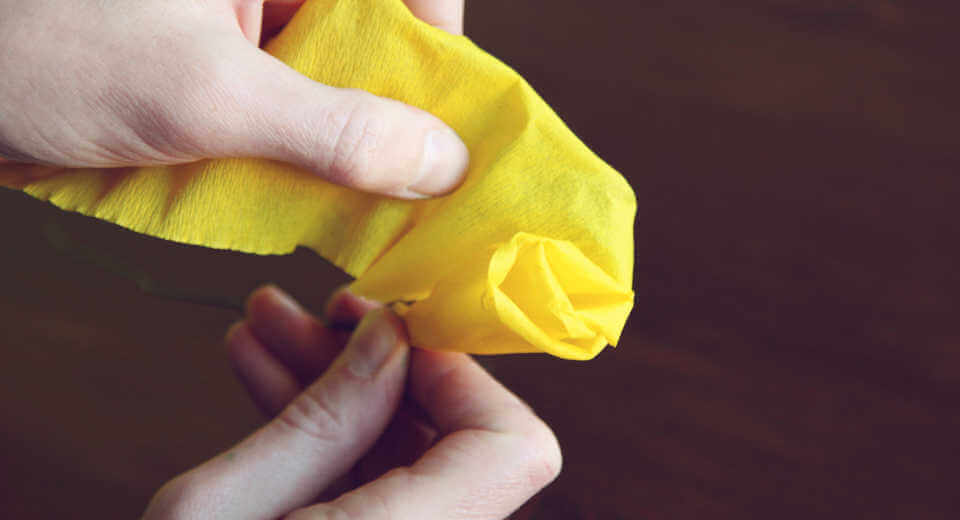
Winding the flower is the most challenging step
Now cut off a piece of the thicker wire, about 20 cm long, to use as a style, get some paste and a paintbrush ready and place a craft mat underneath. Now start to wrap the prepared masking tape for the flower around the upper end of the style, with the unprepared long edge facing downwards.
The best way to do this is to press the lower part of the masking tape together on the style with one hand and with the other hand alternately wrap the masking tape in a flower shape and apply drops of paste to the lower edge with the brush. This gradually creates the flower.
This step is a bit tricky, but you will soon get a feel for it. If you already have some practice and want to make several crepe paper roses anyway, you can vary the technique a bit and wind some flowers tighter and more pointed, others looser and wider.
4. Fix the Flower to the Style and Start Wrapping It
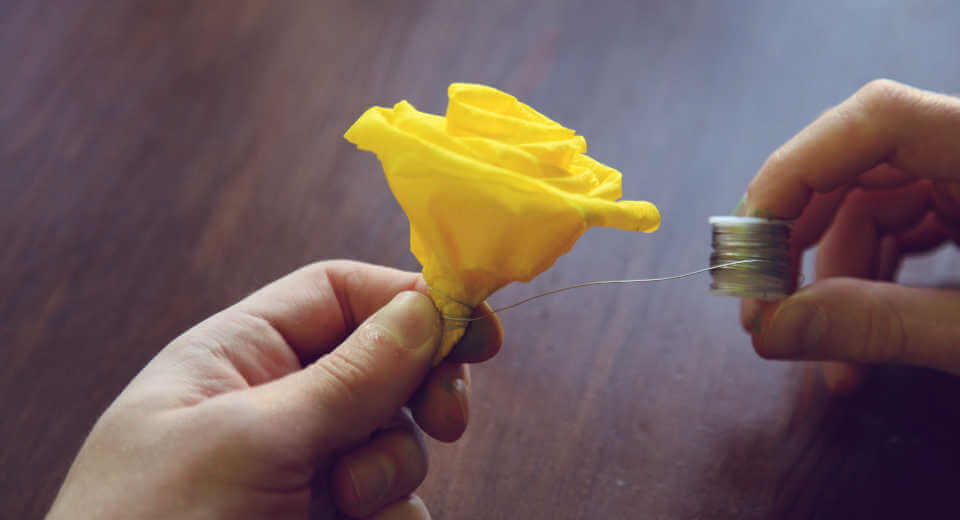
Thin wire is the best way to fix the flower
Once you have glued the end of the crepe tape, you should wrap the bottom end a few times with the thin craft wire to fix the flower better to the style. Then cut a 4 cm wide strip from the green crepe, glue it with glue directly under the flower and start to wrap the style in a spiral, always applying small dots of glue with a brush in between to stabilise the whole thing.
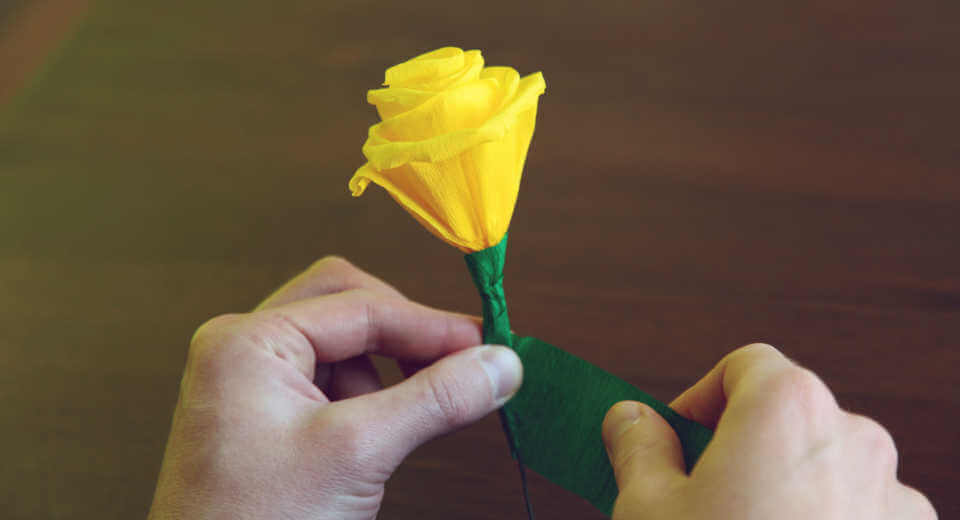
Wrapping the stem of the crepe paper rose
If you also want leaves on your rose, however, you should pause just below the flower and tape the stems with the leaves on here first and then continue wrapping around the stems.
5. Make Leaves to Complete the Crepe Paper Rose Style
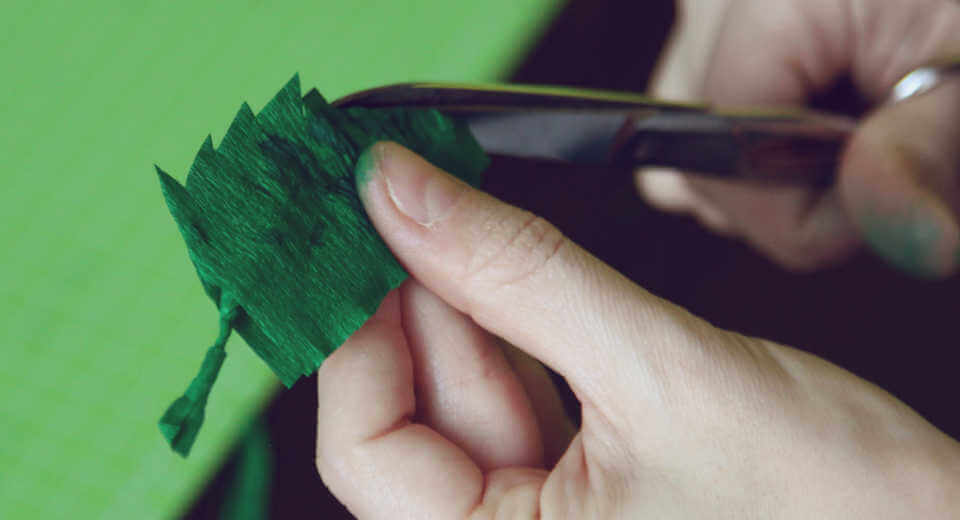
Cut a rose leaf from crepe
To make a rose leaf, cut two rectangles of the same size out of the green crepe and cut a piece of the thin craft wire about 4 – 5 cm long. Coat this wire with paste and wrap a suitably sized piece of green crepe around it. Place this style on one of the rectangles of crepe for the leaf so that one piece protrudes and glue the second rectangle on top. Now you can simply cut the pointed oval shape with the prongs of a rose petal with a pair of scissors.
Glue the base of the petals to the thicker stem of the rose and then wrap the green masking tape around the stem in a spiral. Done!
This is how to make crepe paper roses! 🙂
On Abenteuer Freundschaft you will find many more craft ideas, as well as a wide range of tips for activities with children, with friends or with your partner.
You like it and want to stay up to date with our latest ideas? Then give us a Like on Facebook and Instagram!
*This article contains so-called affiliate links. This means that if you buy a product via such a link, Abenteuer Freundschaft may receive a small commission without the product becoming more expensive.
Similar Posts
Advertisement
Similar Posts
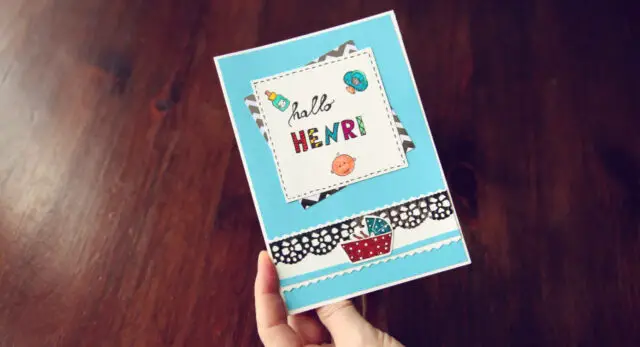
Congrats on Newborn Baby Card – Stampin up DIY ? | Tutorial
Stamp, colour, stick. All you need to make this DIY baby card is paper, stamps, markers and tape. Conjure up a loving welcome!
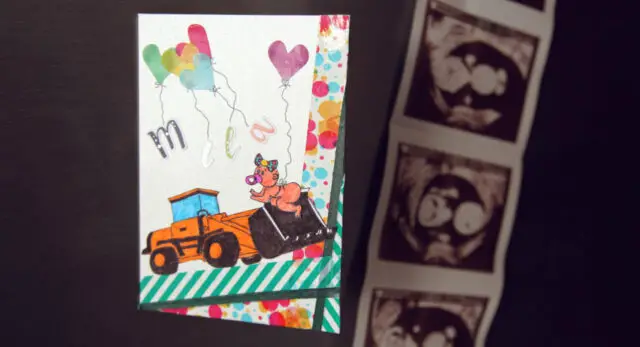
Homemade Baby Card Idea With a Excavator | Tutorial
Stickers, tape, baby and digger, that's all you need to make this fun baby card. You can print out the template for the excavator and baby here for free!
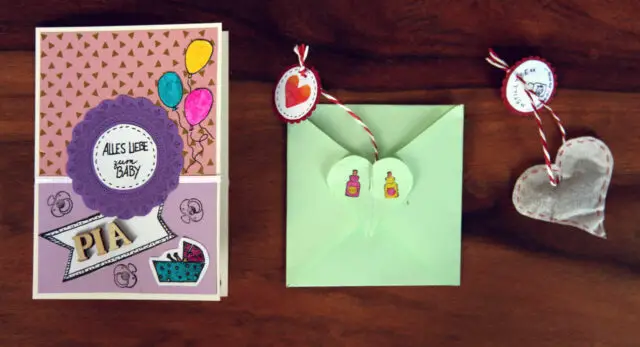
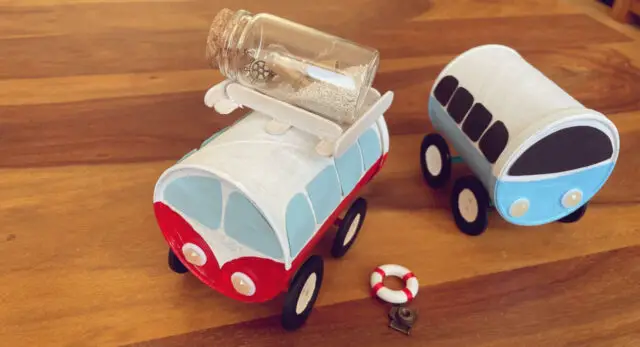
DIY Welcome Baby Girl Card With Cute Surprise for Mom | Tutorial
There is a lot of love in this card! When you open it, a sweet homemade surprise for breastfeeding awaits the new mum.
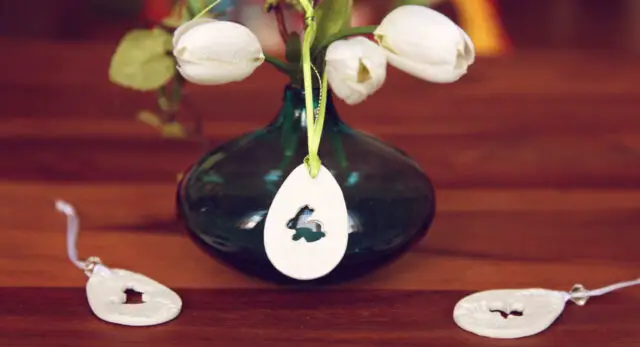
How to Make Elegant Clay Easter Eggs | Tutorial
Elegant, flat Easter pendants for the Easter bush are easy to make yourself. It's child's play to create beautiful Easter decorations from air-drying clay!

Congrats Baby Boy Card – Cute DIY With Stamps | Tutorial
Stamp, punch, colour. Create a super cute welcome with baby motifs. Design the front and the inside of the card and get creative!
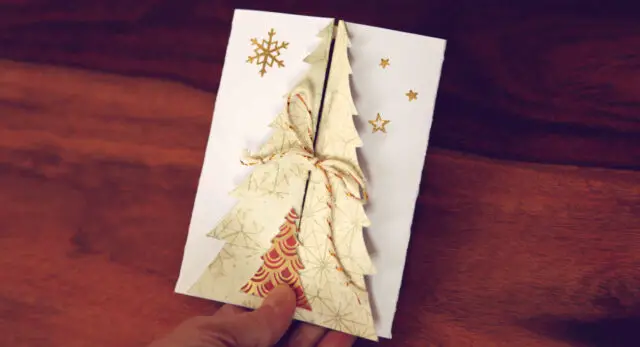
How to Make a Christmas Tree Card | Tutorial
Simple DIY idea for a Christmas card with a fir tree to open. There's a surprise hidden inside!
