With motif paper and string, you can make an individual birth greeting card in about 20 minutes! And this is how to make a Birth greeting card with a baby name garland.
There is no better welcome than a self-made card. Parents often keep birth cards for a long time – or even stick them in the first photo album as a memento. This time, I wanted to make a greeting card for the birth, on which the name of the new citizen of the earth is put in the limelight. After all, the baby was named after Aurora, the Roman goddess of the dawn! ?
Do you have cardboard, motif paper and crafting utensils at home? Then it will only take about 20-30 minutes to make if you are reasonably good at crafting. I designed the letters for the baby name on my PC, formatted them and printed them out. If you have beautiful handwriting, why not skip the PC altogether and draw the letters yourself?
Tip: With the right calligraphy pens and tips for handlettering, you can create beautiful cards and gifts! For me, an absolutely beloved must-have for creative crafters ?.
Looking for more creative ideas? From DIY vouchers as paper roses to pretty heart envelopes, you can find special DIY gifts on Greatime!
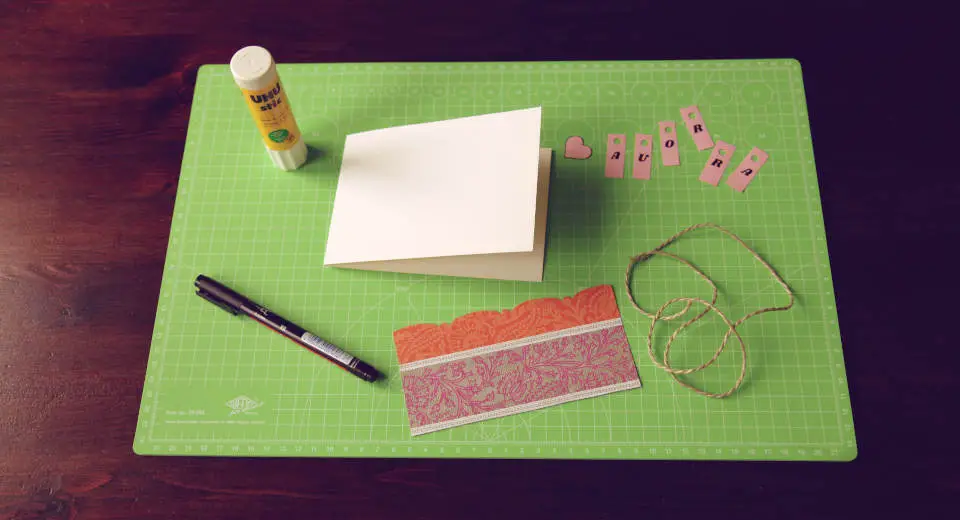
Material Liste*
- Motif paper
- Dark white photo cardboard
- paper pink
- String
- Wooden hearts
- Hole punch
- Permanent marker
- Glue stick
- Hot glue gun
- Scissors
- Craft mat
How to Make a Birth Greeting Card With Baby Name Garland

You can buy great motif paper in craft shops and on amazon* and there is a large selection of different types of wood. Also great are wooden feet and an in product from the 90s: small deco plastic dummies. You collected those even as an adult back then (and maybe saved one or two?).
1. Paint on Baby Names or Design Them on the PC and Print Them Out

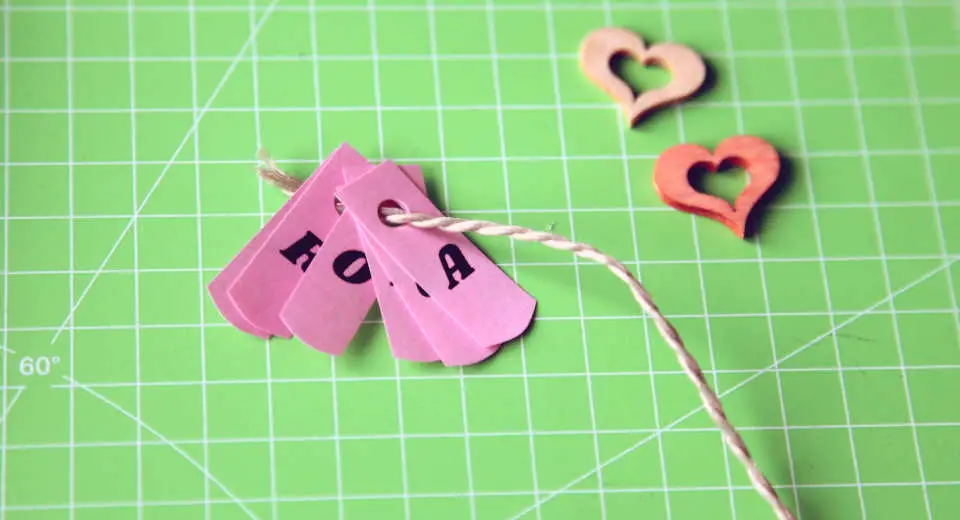
Write the letters of the name in calligraphy on a pink sheet of paper. Each pennant is 1 cm wide and 3.5 cm high. Now cut out the letters on the paper strips and punch holes in the upper third. Place the letters on top of each other and cut the bottom edge in a semi-circle so that each pennant flag on the birth greetings card has the same shape.
Cut a piece of string and thread the letters in the correct order.
Alternatively, you can design the baby name on your PC and print it out on coloured printer paper.
2. Measure, Cut and Glue the Cardboard and Motif Paper

For the folding card, fold an orange tinted DIN A4 cardboard paper (about 240 mg) lengthwise and measure 11 cm in height to cut off. Then cut a strip of motif paper to the exact length.
Mark points on the right and left sides of the paper at a height of 7.2 cm and draw a straight line. Mark the centre and from there 1/4 and 3/4. Now draw the curved arcs as shown in the photo and cut them out. Glue on the motif paper.
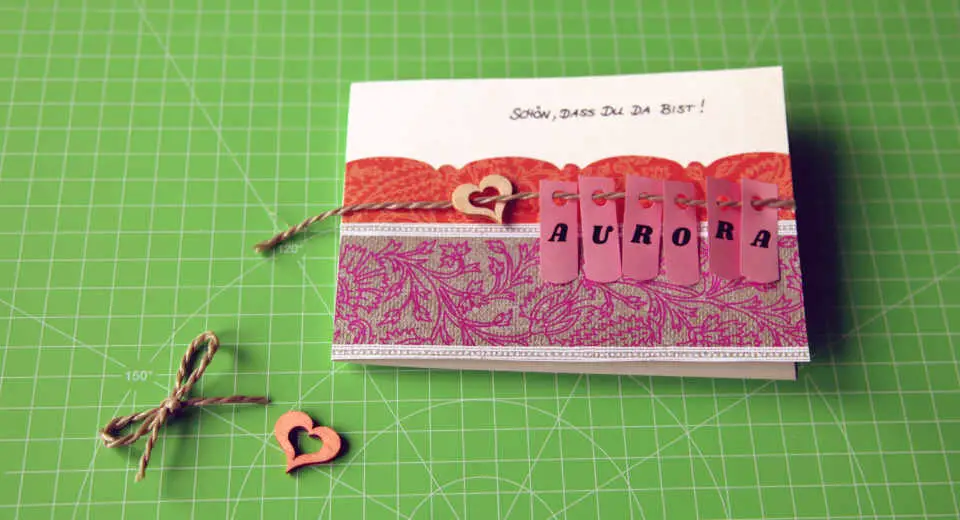
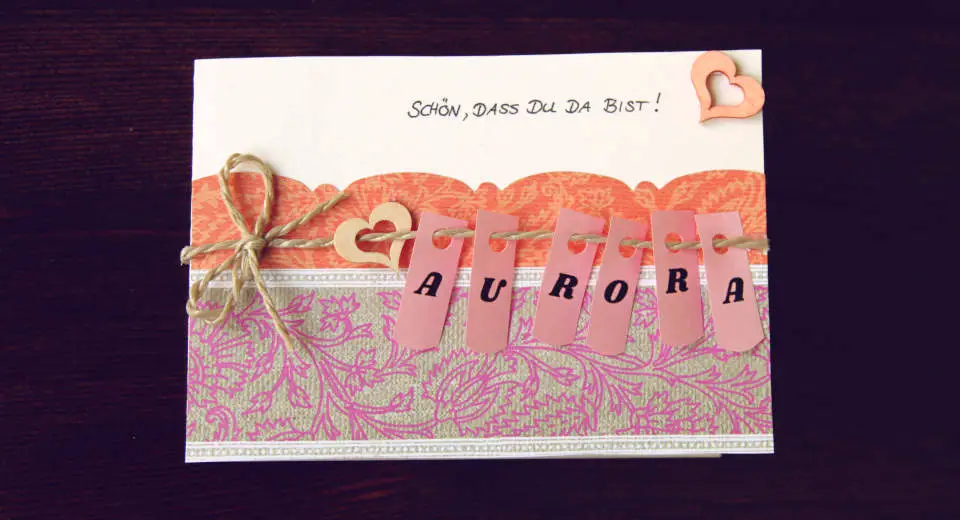
Above the name pennant garland you have space for a personal saying for the birth. I chose “Glad you’re here!“.

Now I threaded a wooden heart onto the name garland and glued it with hot glue to the back of the card on the right and left side. To hide the glued areas, I glued a wooden heart on top of each one. And another one on the front next to my saying.
Finally, simply tie a bow from a smaller piece of string, shorten the ends and fix them with the hot glue gun.
I glued a matching piece of pink paper onto the right half of the card with glue stick, from which I cut out the letters. Leftover recycling – and so the card really does look just as good as bought!
Have fun making a greeting card for the birth! 🙂
You are full of crafting ideas and have great ideas for leisure activities with kids, friends and your partner? We are looking for guest authors and would love to hear from you email!
Never miss a good idea again and follow Greatime on Facebook and Instagram!
*There are affiliate links in this article. This means that if you buy a product via such a link, Greatime may receive a small commission without the product becoming more expensive.

![How To Make A Birth Greeting Card With Baby Name Garland Tutorial [Uber En="With*this*how*to*make*a*birth*greeting*card*even*inexperienced*craftsmen*can*manage*it" De="Eine*Glückwunschkarte*zur*Geburt*basteln*gelingt*auch*ungeübten*Bastlern*in*etwa*20*Minuten*mit*dieser*Anleitung"]](https://greatime.de/wp-content/uploads/2020/05/glueckwunschkarte-zur-geburt-maedchen.jpg)
![Uber En Quot Patterned Easter Eggs Quot De Quot Gemusterte Ostereier Quot [Uber En="How*to*designing*patterned*Easter*eggs*with*gaffer*tape" De="Ostereier*gestalten*mit*Gaffer*Tape"]](https://greatime.de/wp-content/uploads/2018/03/ostereier-gestalten-tape-faerben.jpg)
![Uber En Quot Chick Quot De Quot K Ken Quot [Uber En="This*is*how*to*make*a*Easter*chick*as*decoration" De="Ein*Küken*basteln*als*Osterdeko*geht*einfach*mit*dieser*Anleitung"]](https://greatime.de/wp-content/uploads/2018/03/osterdeko-selber-machen-kueken.jpg)
![Uber En Quot Housewarming Gift With A House From A Folding Rule Quot De Quot Einzugsgeschenk Mit Einem Haus Aus Einem Zollstock Quot [Uber En="Make*house*from*a*folding*rule*as*a*creative*DIY*moving*in*present*idea" De="Haus*aus*einem*Zollstock*als*kreatives*DIY*Geschenk*zum*Einzug*basteln"]](https://greatime.de/wp-content/uploads/2022/01/haus-aus-zollstock-geschenk-zum-einzug-basteln.jpg)