Looking for original tips on how to design labels? There are far more possibilities than you think! With just a few simple steps, you can give a special gift that certain something. Have you ever made light-up labels or origami labels?
1. How to Design Labels – These Products Are Particularly Suitable
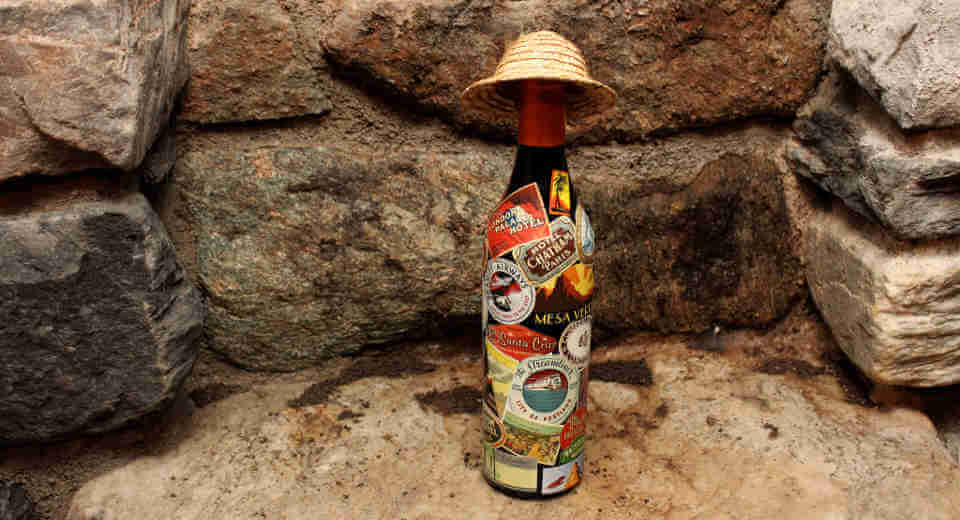
Every product you buy also has a label – but that doesn’t automatically mean that a craft label is an eye-catcher for every special gift. In fact, we’ve found that labels make the biggest impact on food, drink and wellness products.

Beer Labels from _sushi-olin at CC BY 2.0
Labels are just perfect for making gift baskets extra special:
- Country delicacy baskets (e.g. Italy, Spain, France, USA, Japan)
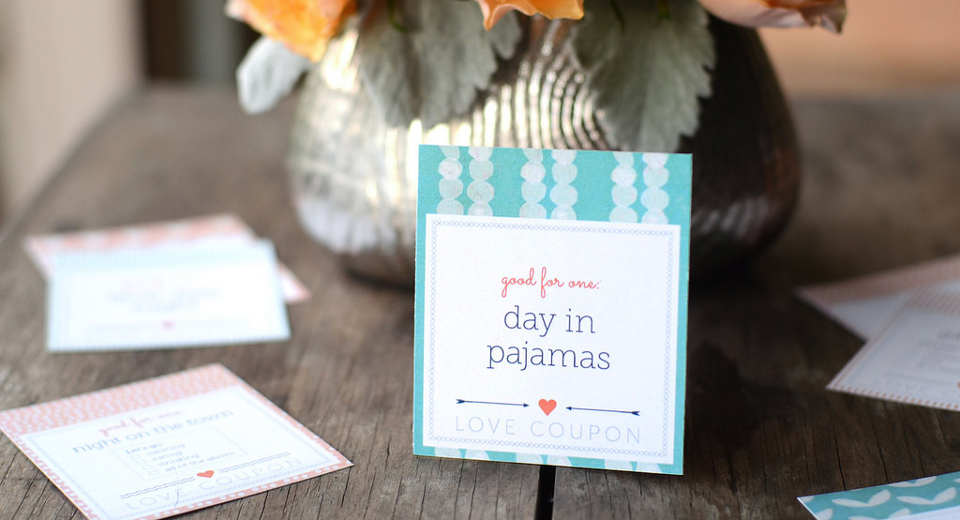
- Bath & wellness basket (with bath balls, bath additives, beautiful soaps, shower gel, shampoo, towel, possibly in combination with a voucher)
- Wine, sparkling wine/champagne, spirits and cocktail combinations
- Fruit baskets
- Flower baskets
Tip: The package vs label formula applies. If you’re going to go to the trouble of making the labels yourself, forgo wrapping paper and wrap your gift so that the labels show!
2. Small Space Goes Big: This Is How to Make It Perfect
orange flowers rose by FTD Flowers at CC BY 2.0
This Is What You Need! Check-List Before You Start
Before you start your craft session, you should think about what you want to achieve with your label. What accessories do you need? How will your gift be personalised just by choosing the right materials? These are the questions you should ask yourself:
- Is there a special occasion for your gift? Which one?
- In what season will the celebration take place?
- What are the favourite colours, hobbies and preferences of the recipient?
- Why did you choose exactly this product?
- Do you have craft supplies like cellophane foil*, all-purpose glue, coloured paper and paint pens and stickers etc. in stock?
- Do you have backing paper for the labels? Ideal: Self-adhesive labels suitable for printing, alternatively: double-sided tape and handmade paper, nice stationery, wrapping paper or foils etc.
3. How to Design Labels Yourself
In principle, there are countless ways how to design labels. Depending on the occasion, product, personality of the recipient and personal taste, a different idea is always perfect! So let yourself be inspired by our Best of ideas for designing your own labels and set no limits to your creativity!
a) Start With the Backing Paper
You can design labels yourself either on the computer with an image processing programme like the free Gimp or by hand. While I’m most into 100% hand made myself, I’m also an avid digital hobbyist. In fact, an empty champagne bottle with a beautiful PC-designed label has been sitting on my shelf for a while now – I couldn’t have done it more beautifully by hand.
If you design your label on your PC, you have to choose a printable backing paper. The counterpart of this professional label variant for hobbyists are self-adhesive labels. In every craft shop and on the internet there is a nice selection of self-adhesive blank labels of different shapes and sizes: round, baroque curved, rectangular or in beautiful vintage look.
If you have more time and generally like to do handicrafts, you can of course take the scissors in your hand and cut a label in the shape of your choice. In principle, you can use any paper – it’s just important to make sure that the paper is not too thin. With some craft papers, you can see the adhesive strip or the double-sided adhesive tape through the label – of course, we want to avoid this from the very beginning!
Be imaginative with your choice of backing paper! I have used foils in opaque colours, corrugated paper, wrapping paper, newspaper, snippets of text glued together, felt, fabric, washi tape, thick ribbon, wrapping paper, dried leaves and origami animals and flowers as a backing to make my own labels!
b) What Is on the Label?
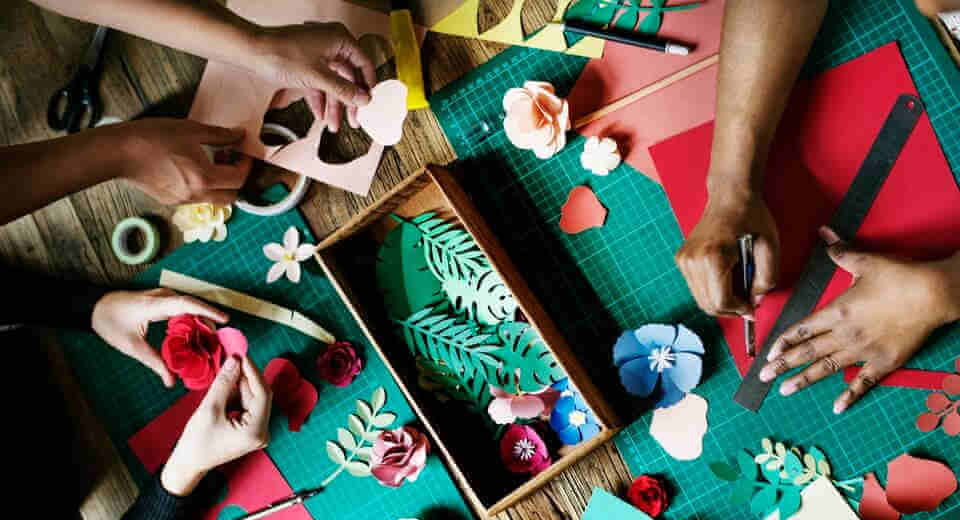
Creative DIY labels
First you should determine the dimensions so that you know how much space you have available on your label. The next step is to choose the motif and text blocks for your label. We have put together a list of suggestions for you.
- Photo (of the recipient or the giver, ingredient, insider)
- Painted picture, drawing
- Short self-painted comic strip
- Motif sticker
- Personal greeting, wish
- Saying
- Personal slogan for your own product
- Poem
- Quotation
- Number / date
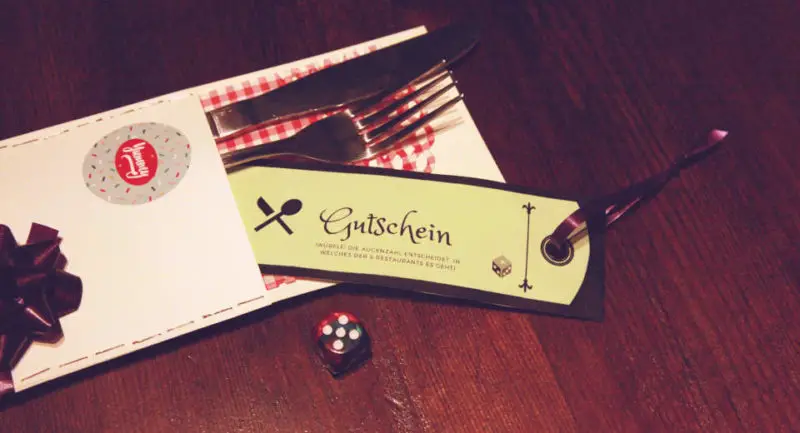
- Name of birthday boy / girl / bride / nickname – Small envelope e.g. for a gift voucher
- Coins / dried flowers / miniature objects to stick on
- Symbols
- Calligraphy
Once you have decided on the backing paper and motif or text, it’s time to get crafting.
Important: Design your label before you stick it on – bottles have the characteristic of being round and this will make even the greatest drawing god stumble! 😉
Make sure you use appropriate pens for the backing paper of your choice. For example, you should write on foil or laminated paper with water-repellent special pens or permanent markers, otherwise the writing will smudge. There are hardly any more beautiful ways to create texts than with calligraphy and ink – but you should definitely use a suitable backing paper!
c) How to Design Your Own Fancy Labels
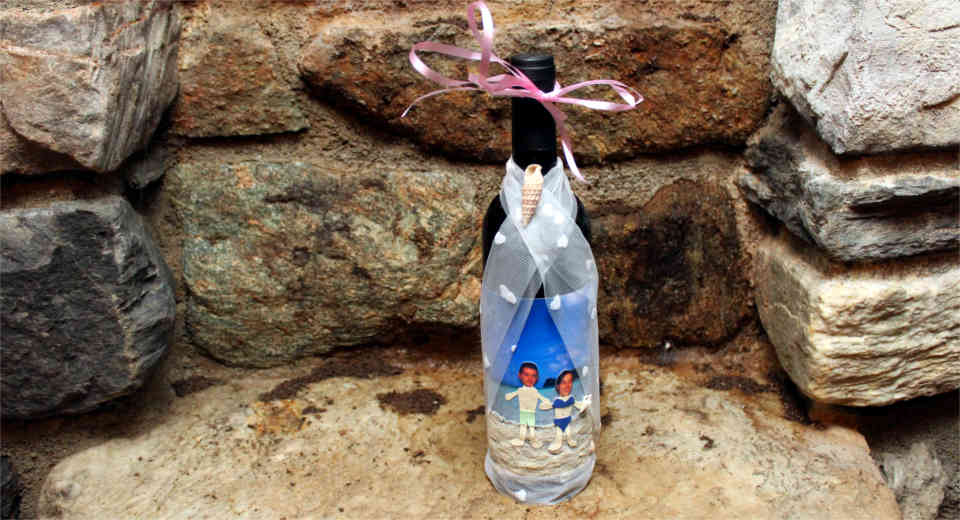
Bouteille mariage by Olivier Bruchez at CC BY-SA 2.0
Do you like it wacky and original and crafting is your hobby anyway? Welcome to the club! There are few activities I enjoy as much as creatively designing special gifts. At the latest when I see the smile on the face of the recipient of my gift, I know why all the effort was worth it.
Especially on special occasions like round birthdays or weddings, we often pool our efforts and give a gift basket or some special products with a voucher – and always the lovingly self-pimped labels make it something special! Here come our creative ideas and insider tips that make every product a real hit.
Durable Hit: Self-luminous Labels With LEDs
They are absolutely unusual and ideal for coloured bottle contents: self-luminous labels. For these literal perennial favourites among homemade labels, I simply clamp one button battery CR2032 3V per LED between the legs of 10mm LEDs (take the brightest ones you can get). Make sure to press the longer leg of the LED to the positive side and the shorter leg to the negative side of the battery to avoid a short circuit. The closer you press the legs of the LED to the battery, the brighter it will shine. Now fix the battery to the LED with tape. Make 6-8 LEDs depending on the size of your label and place the LEDs between 2 layers of transparent paper on or behind your label. You can also decorate the LEDs with delicate petals and make luminous flowers this way.
Mysterious: How to Design Labels That Glow at Night
Light-up labels can be made in a variety of ways. My favourite: apply glow-in-the-dark tape as a second layer under the label. This way, the tape glows through the liquid and gives the gift an almost extraterrestrial light effect. At the same time, you are completely free to design your label. You can let your creativity run wild and write and paint on your glowing label made of 2-3 strips of glowing tape stuck together with a permanent marker. Alternatively, there is also Neon Tape in bright glowing colours or fluorescent water-based paints to apply to your label.
Retro: Metal Cards and Granny’s Charm
You probably know the nostalgic metal signs that were used as advertisements in the 50s. If you like to paint and retro is your style, why not design your label like this. You can also buy metal blank templates on the internet and turn them into labels. For example, I once made a blank metal sign for the door with a nice saying on the inside and the names of my friends on the outside and gave it to them as a housewarming gift.
My grandmother had a huge garden and was busy canning vegetables and fruit. For labelling, she used very simple blank self-adhesive labels and labelled them by hand, with the date and exact contents. Especially for homemade jam, syrup, liqueurs or relish, you can combine such a plain label with a second larger label with a recipe tip.
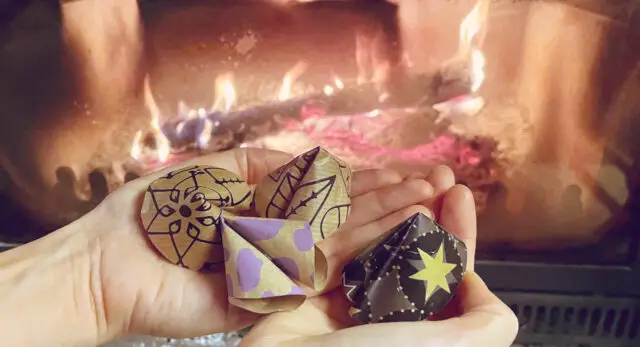
Fold Symbols: Origami Labels
A nice variation for fancy labels is to design messages not as text but as a three-dimensional motif. Especially motifs with a high symbolic content are ideal for this. With origami you can fold practically any motif and there is a wide range of motifs for every level of difficulty. I often use folded flowers myself. For this, I use two-colour origami paper and inscribe the petals with a wish written in calligraphy.
Elegant Frames: Borders, Trims & Sequins
A border makes the label stand out and gives it depth. Plain labels are particularly suitable for setting the scene with noble frames. I simply cover the label all around with a oriental border, a decorative beaded ribbon, a sequin ribbon or lace masking tape and attach it with sparingly applied all-purpose glue. Depending on the product/gift, I also decorate the lid or cap with another piece of braid.
4. Design Your Own Bottle Labels
Bouteille mariage from Olivier Bruchez at CC BY-SA 2.0
Wine, oils, fine gin or homemade syrup: all these delicacies are bottled and almost cry out for an original label for your personal message. You have two options: either you spruce up the existing label and add a personal touch or you start designing labels yourself and paste over the label.
Personalise Bottle Labels
Some bottles are meant to be personal, but you should still be able to tell what they are at first glance. Exquisite brandies, special wines and noble whiskeys are special precisely because of their brand names – we certainly don’t want to cover them up! On the contrary: with luxury products, it is often most impressive to emphasise the exquisite character of the noble substance. You can personalise the bottle label with congratulations, personal sayings, the name/nickname of the recipient. Make sure that your writing and the colour of the pen harmonise with the bottle and the label at the same time and stand out from it, for example, by the colour.
My tip: the best result is achieved either by using noble materials such as velvet, brocade, wallpaper (e.g. with baroque patterns), braid & borders, silk or real flowers and special natural materials and by applying beautiful lettering with calligraphy or lacquer pens.
Design Your Own Labels
And what do you do if you don’t like handicrafts at all and have two left hands? No problem! Thanks to computers and the internet, that doesn’t mean you can’t design your own labels. You can order online from a variety of different suppliers order labels as desired. In most cases, you can use a programme to access templates for special occasions or design the colour, font, motif and pattern yourself. You can add text to your label, such as a saying, and even upload your own pictures and photos to personalise your label.
Even if you want to apply the same label to several bottles, for example as a thank-you gift at a wedding or for colleagues, it is worth ordering the labels online from a supplier. However, if you only need a few bottle labels, all you need is the blank self-adhesive labels and a printer and you can easily and cheaply print out your labels at home.
Have fun designing your own labels! Don’t have enough yet? Here you can find more crafting ideas and find special personal gifts! Every day you can find ideas for activities with friends, partner and family on the Leisure Ideas Portal.
Stay up to date and follow Abenteuer Freundschaft on Facebook and Instagram!
Image source Cover photo: Giant ‘Happily Ever After’ tag by GlitterandFrills at CC BY 2.0.
*There are affiliate links in this article. This means that if you order a product from amazon via one of these links, Abenteuer Freundschaft will receive a small commission without the product becoming more expensive for you.
Similar Posts
Advertisement
Similar Posts
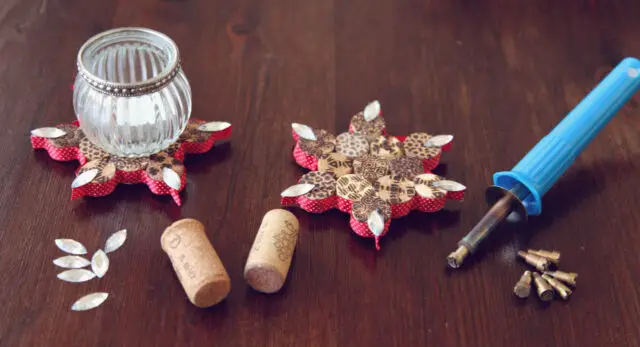
How to Make a DIY Birthday Card With Pretty Ornaments | Tutorial
Stamp, punch, give. When a homemade greeting flutters through the letterbox, it doesn't automatically mean hours of tinkering. Here's how to make a card in no time at all.

Book Gift Idea for a Creative Voucher + Free Printable | Tutorial
Gift voucher or travel card to Fantasyland? This is how to make a gift voucher for bookworms with a free template to print out.
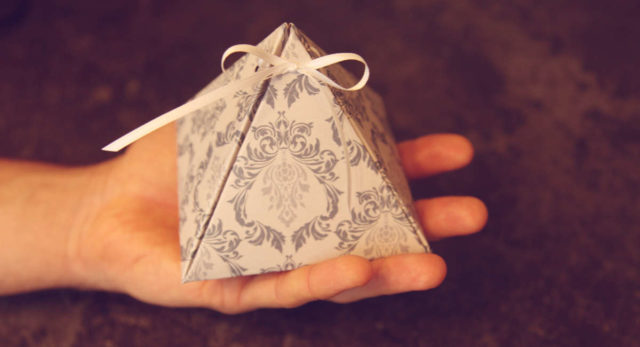
How to Make a Pyramid Gift Box From Cardboard | Tutorial
Perfect for chocolates, jewellery and small gifts: The complete instructions for a sophisticated gift box without gluing.
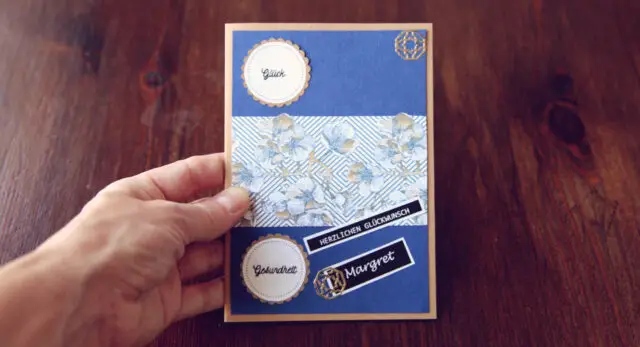
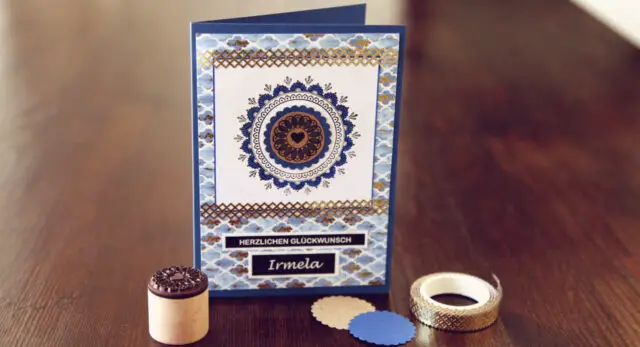
Handmade Birthday Card With Warm Wishes - How to Make It | Tutorial
I wish you ... ? Make a special person happy on their birthday and create a greeting card with personal wishes.
Make an Envelope – With Template to Print Out | Tutorial
Faster to make than to buy at the supermarket is rubbish? You can make this envelope in just 10 minutes. It's that easy!

How to Make a Cute Birth Card With Elephant | Tutorial
Bet this birth card will end up in the family photo album. Make your loved ones happy and surprise them with a homemade card for the birth of their little treasure.
